How to Create and Save a View
Previously exclusive to the My Students table, this feature is now available across all new reports. It allows you to customise your view by selecting or deselecting columns, rearranging them, and more—helping you focus on the student metrics that matter most to you.
What is a Saved View?
A Saved View enables you to tailor a table or report to your specific needs, making it easy to focus on the information that matters most.
Reordering Columns:
If the default column order doesn’t suit your needs, simply rearrange the columns to your preference. Save this as a view, and you can return to your customised layout anytime.
Filtering Columns:
Need to quickly identify students who haven’t completed an initial assessment? Apply a filter to the “IA Completed” column and save the view. You can then access this filtered state whenever needed.
Removing Columns:
Want to declutter the table by removing unnecessary columns? Drag the column out of the view or use the side panel to adjust your selection. Save your changes as a view to streamline your focus.
What is a Primary View?
A Primary View is a Saved View that you select to display by default when the table is first loaded. To set a view as primary, simply navigate to your desired view and click the star icon. The next time you access the report, your Primary View will load automatically.
Interactive Walkthrough
Access our database of Supademo videos here:
https://app.supademo.com/showcase/cm9indmzl002pwt0i2fosboin
Step by Step Process
How to Create and Save a View
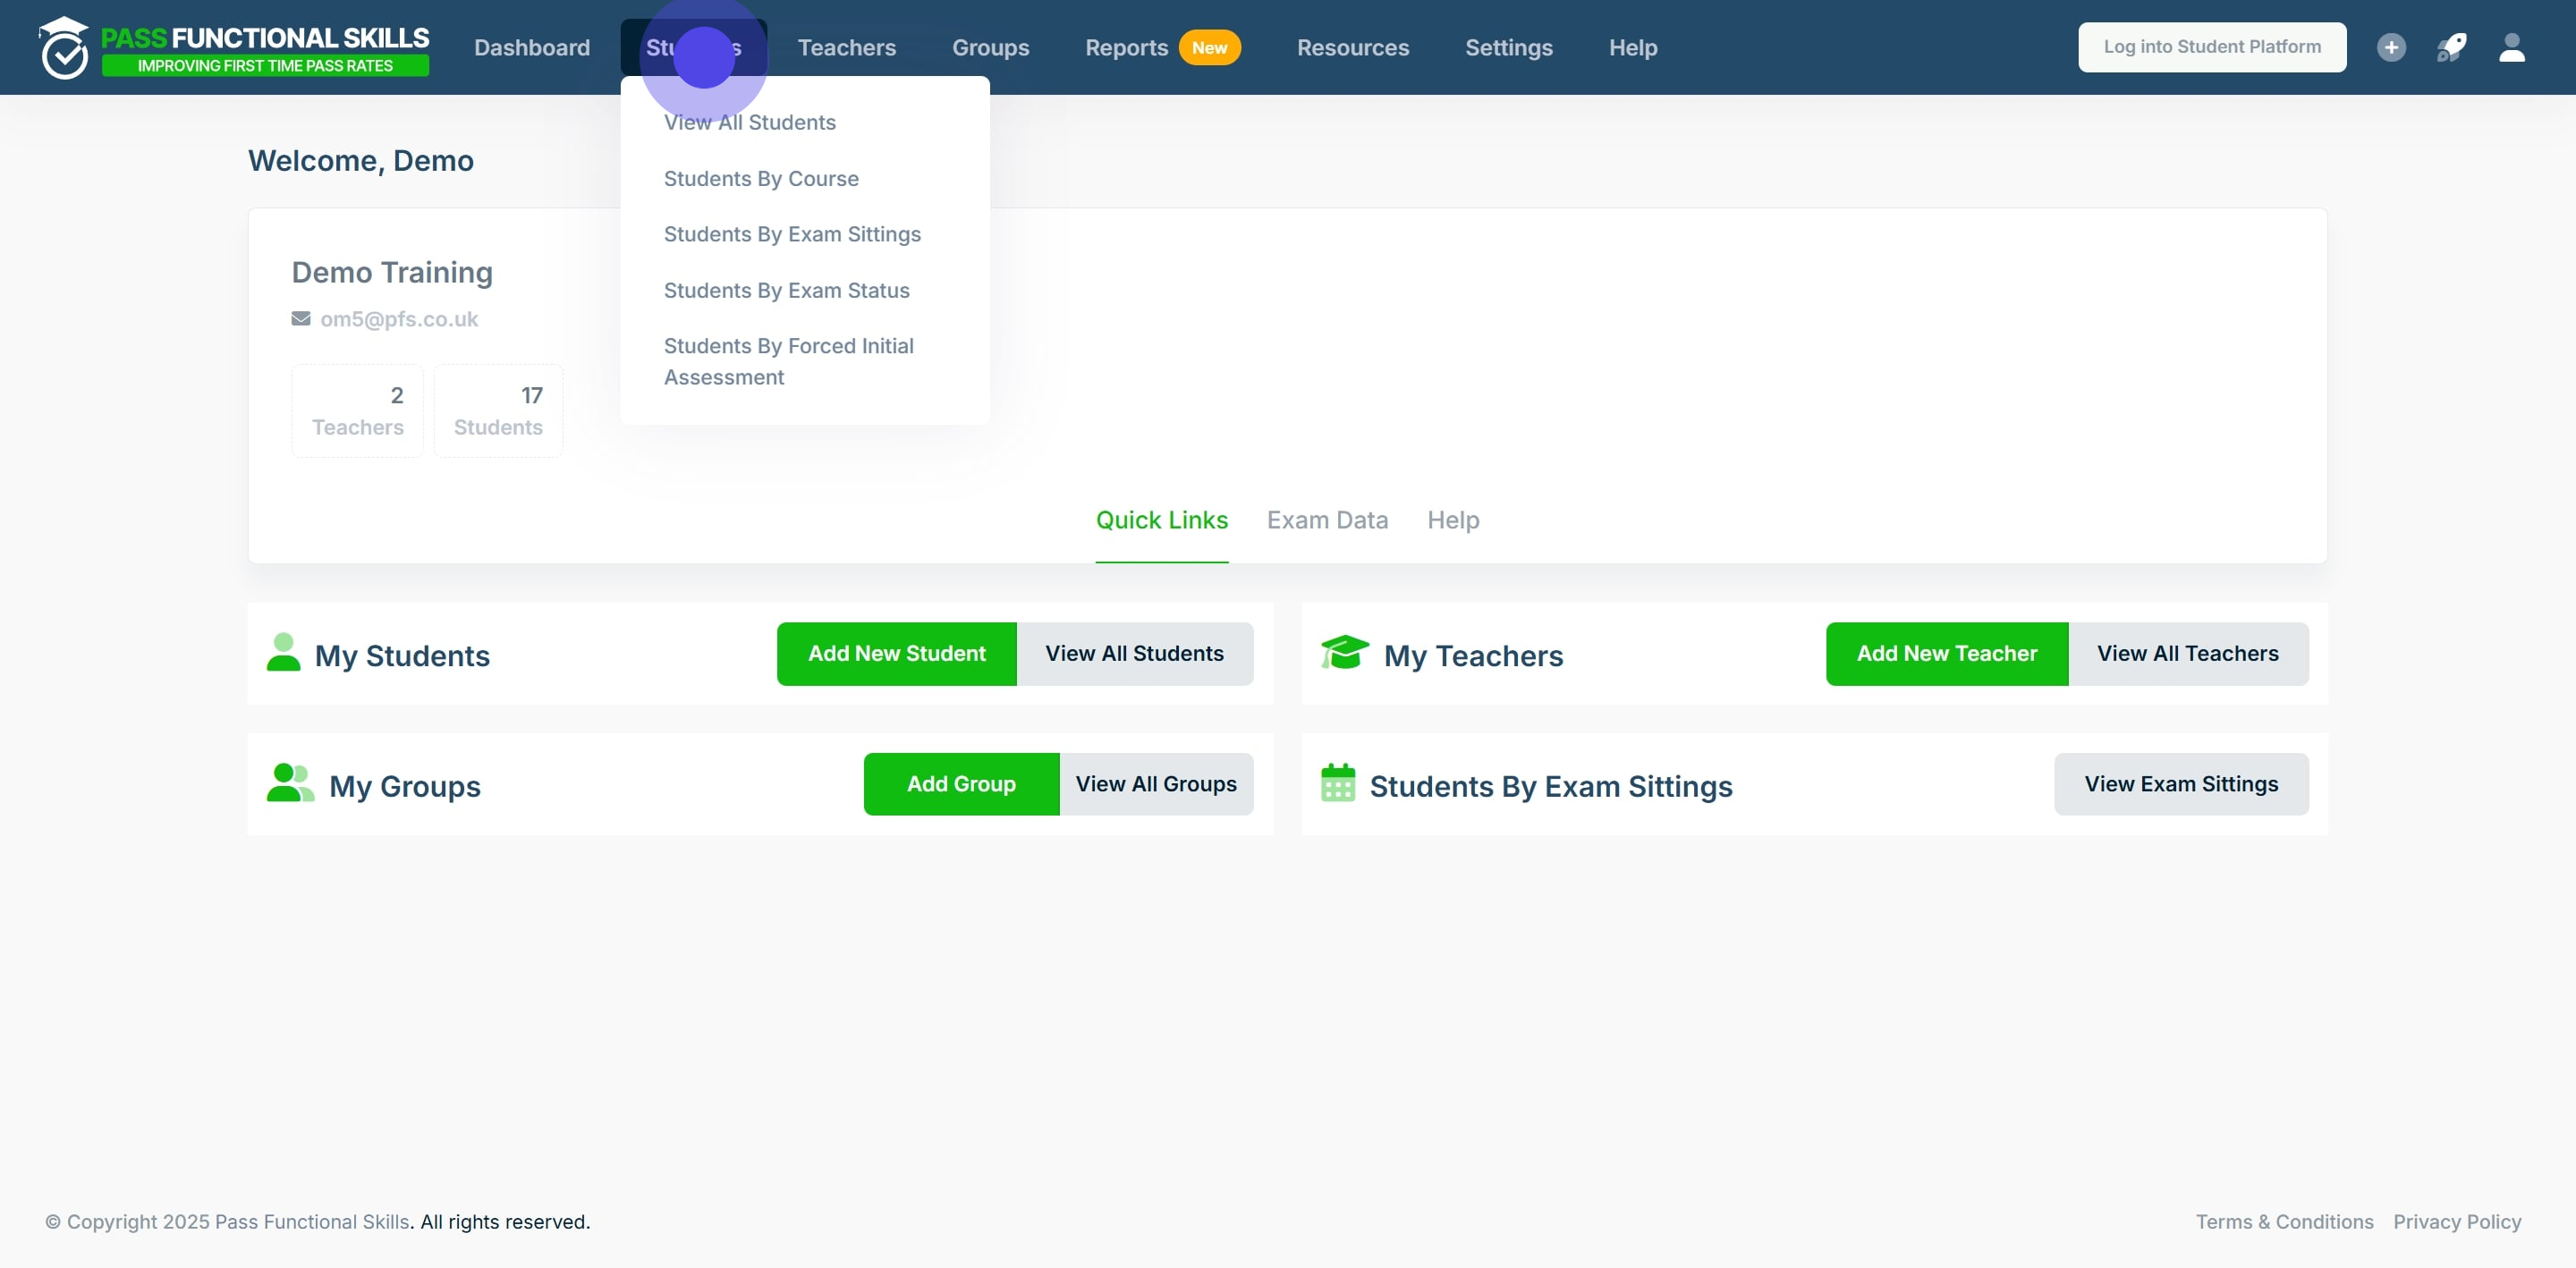
1. This demo will show how to create and save a view for a table. In the on screen example, we will be creating and saving a view for the table of all students.
So, start by clicking "Students"
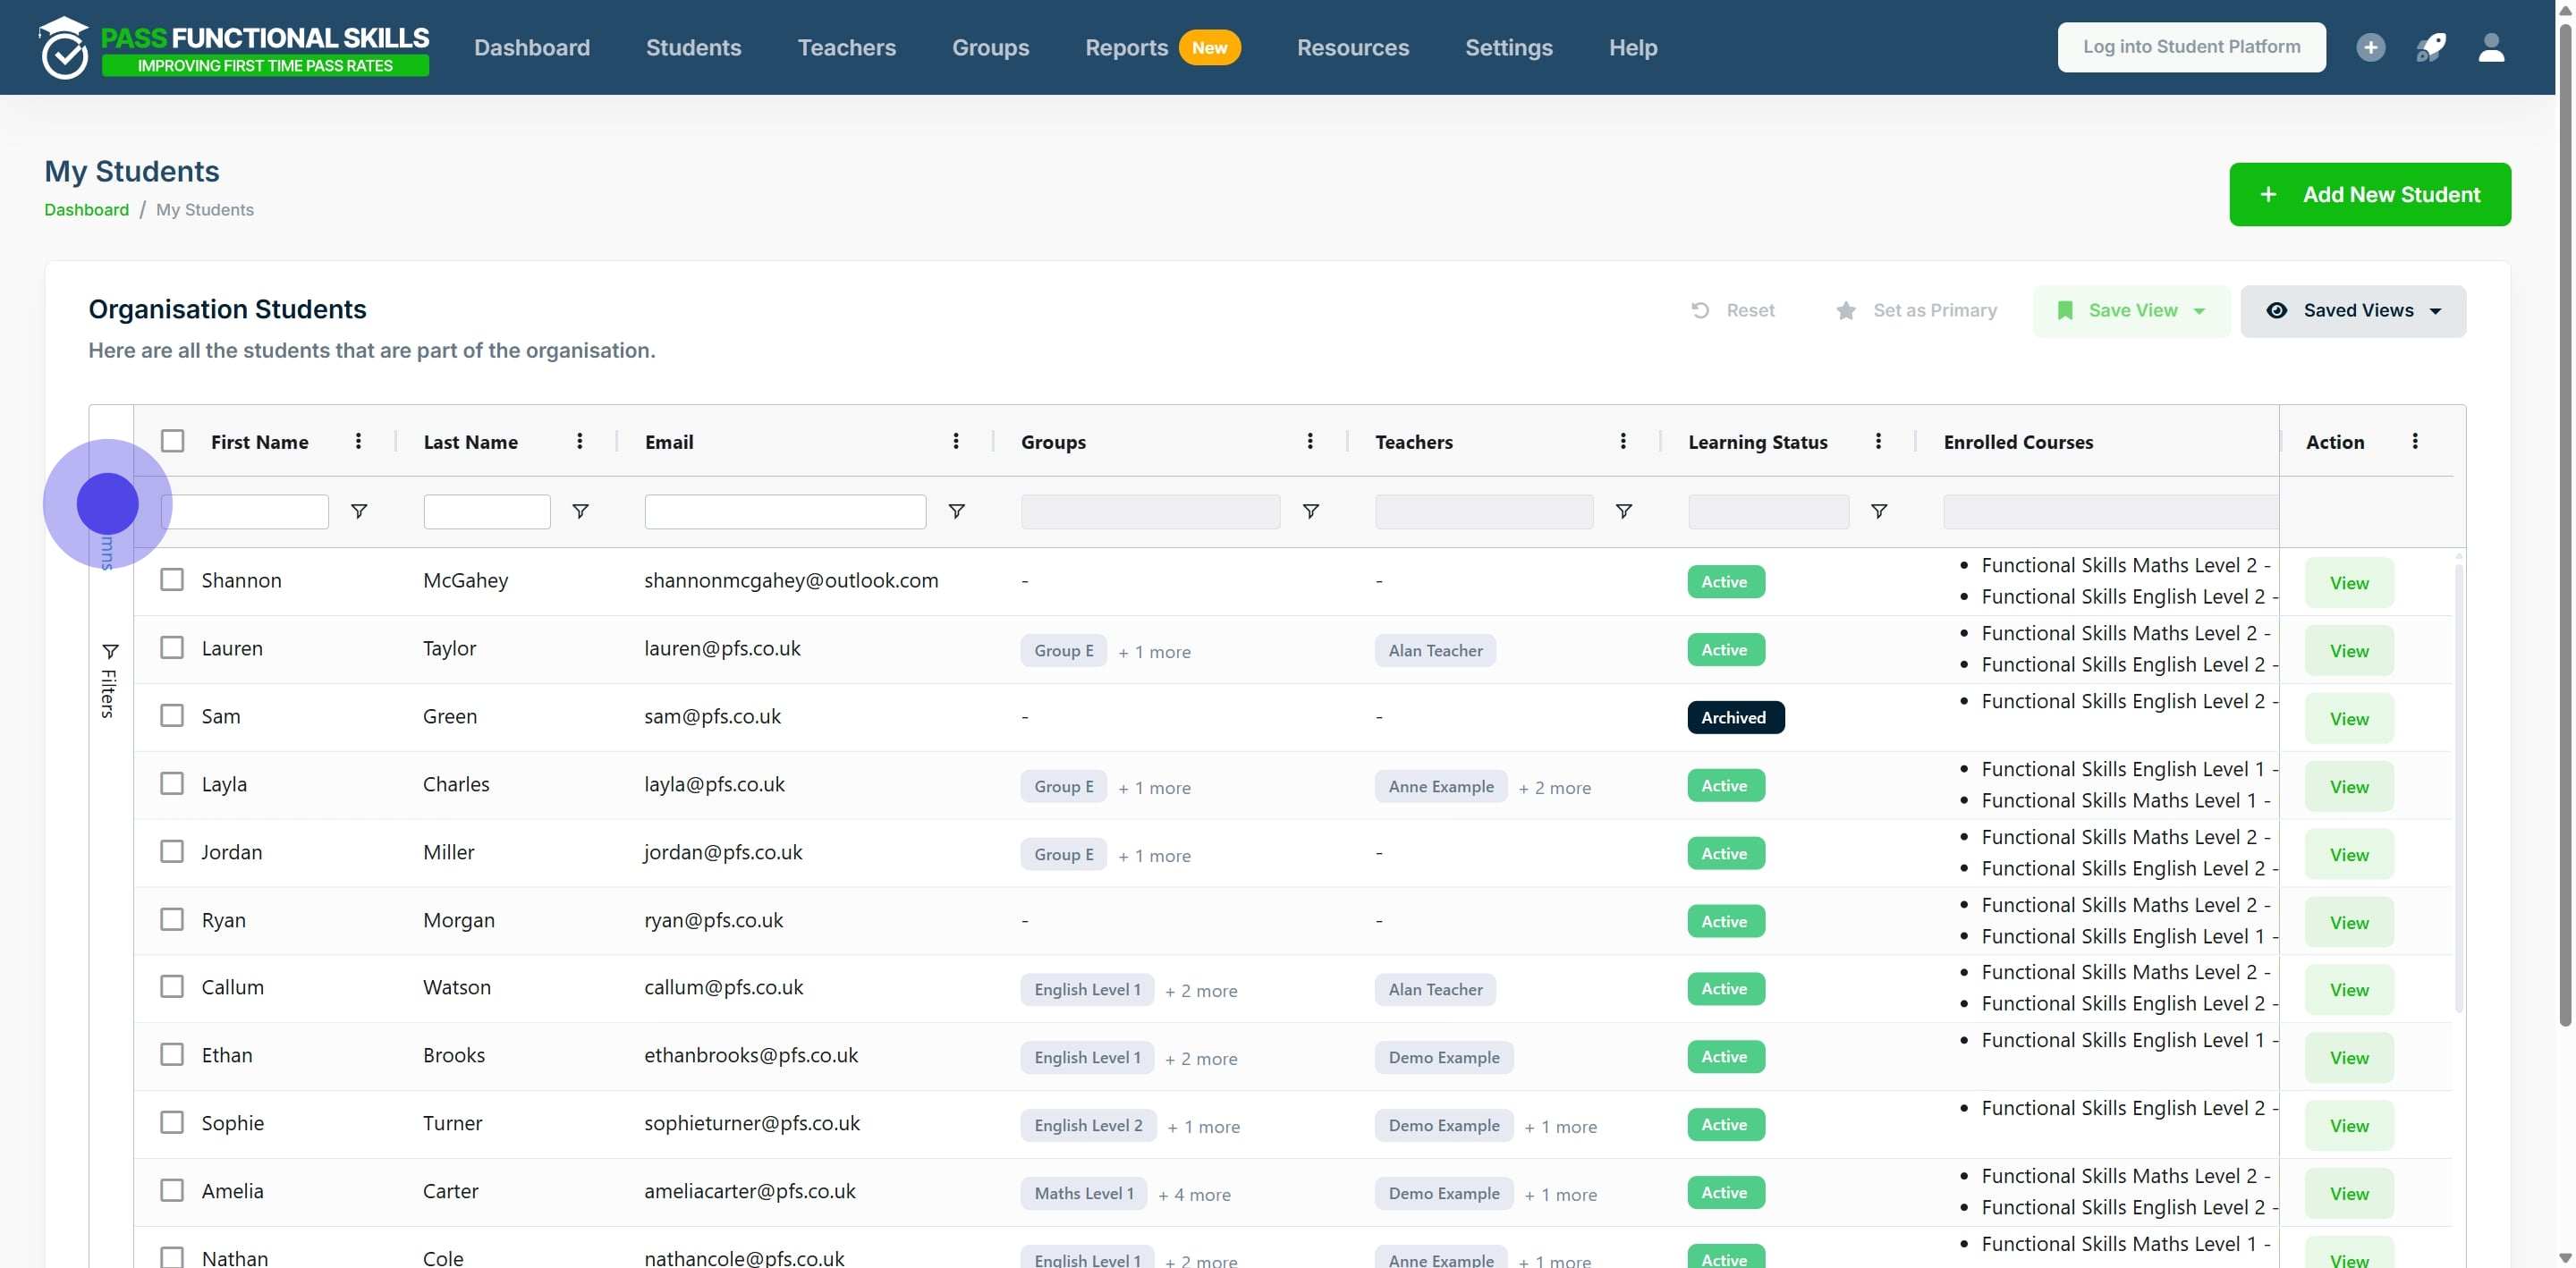
2. Use the search bars at the top of the columns to search for specific table entries.
In this table we can search for a student's First Name, Last Name and Email address.

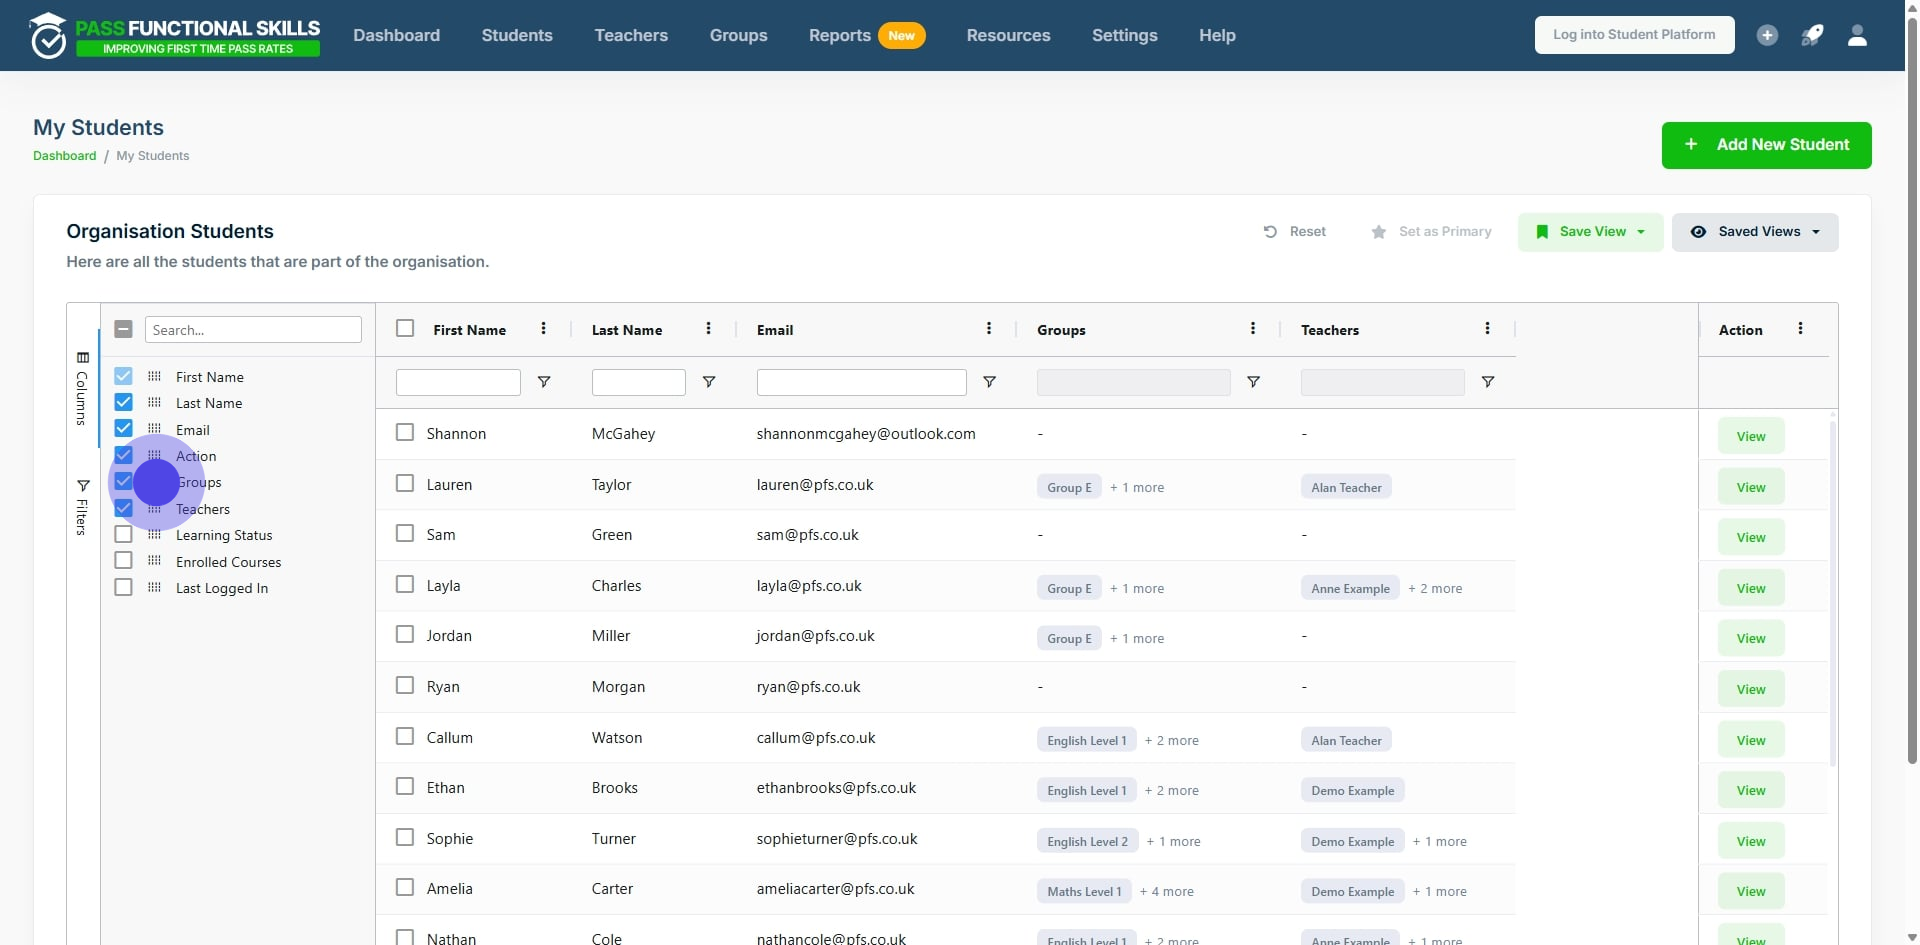
3. To edit and organise the visible columns for your table, click "Columns".
4. The default tables have all columns selected. This means they all currently appear in the table.
Click the box next to the column titles to deselect the column from the table view.
Don't worry, the information is not deleted, just hidden from the table view.
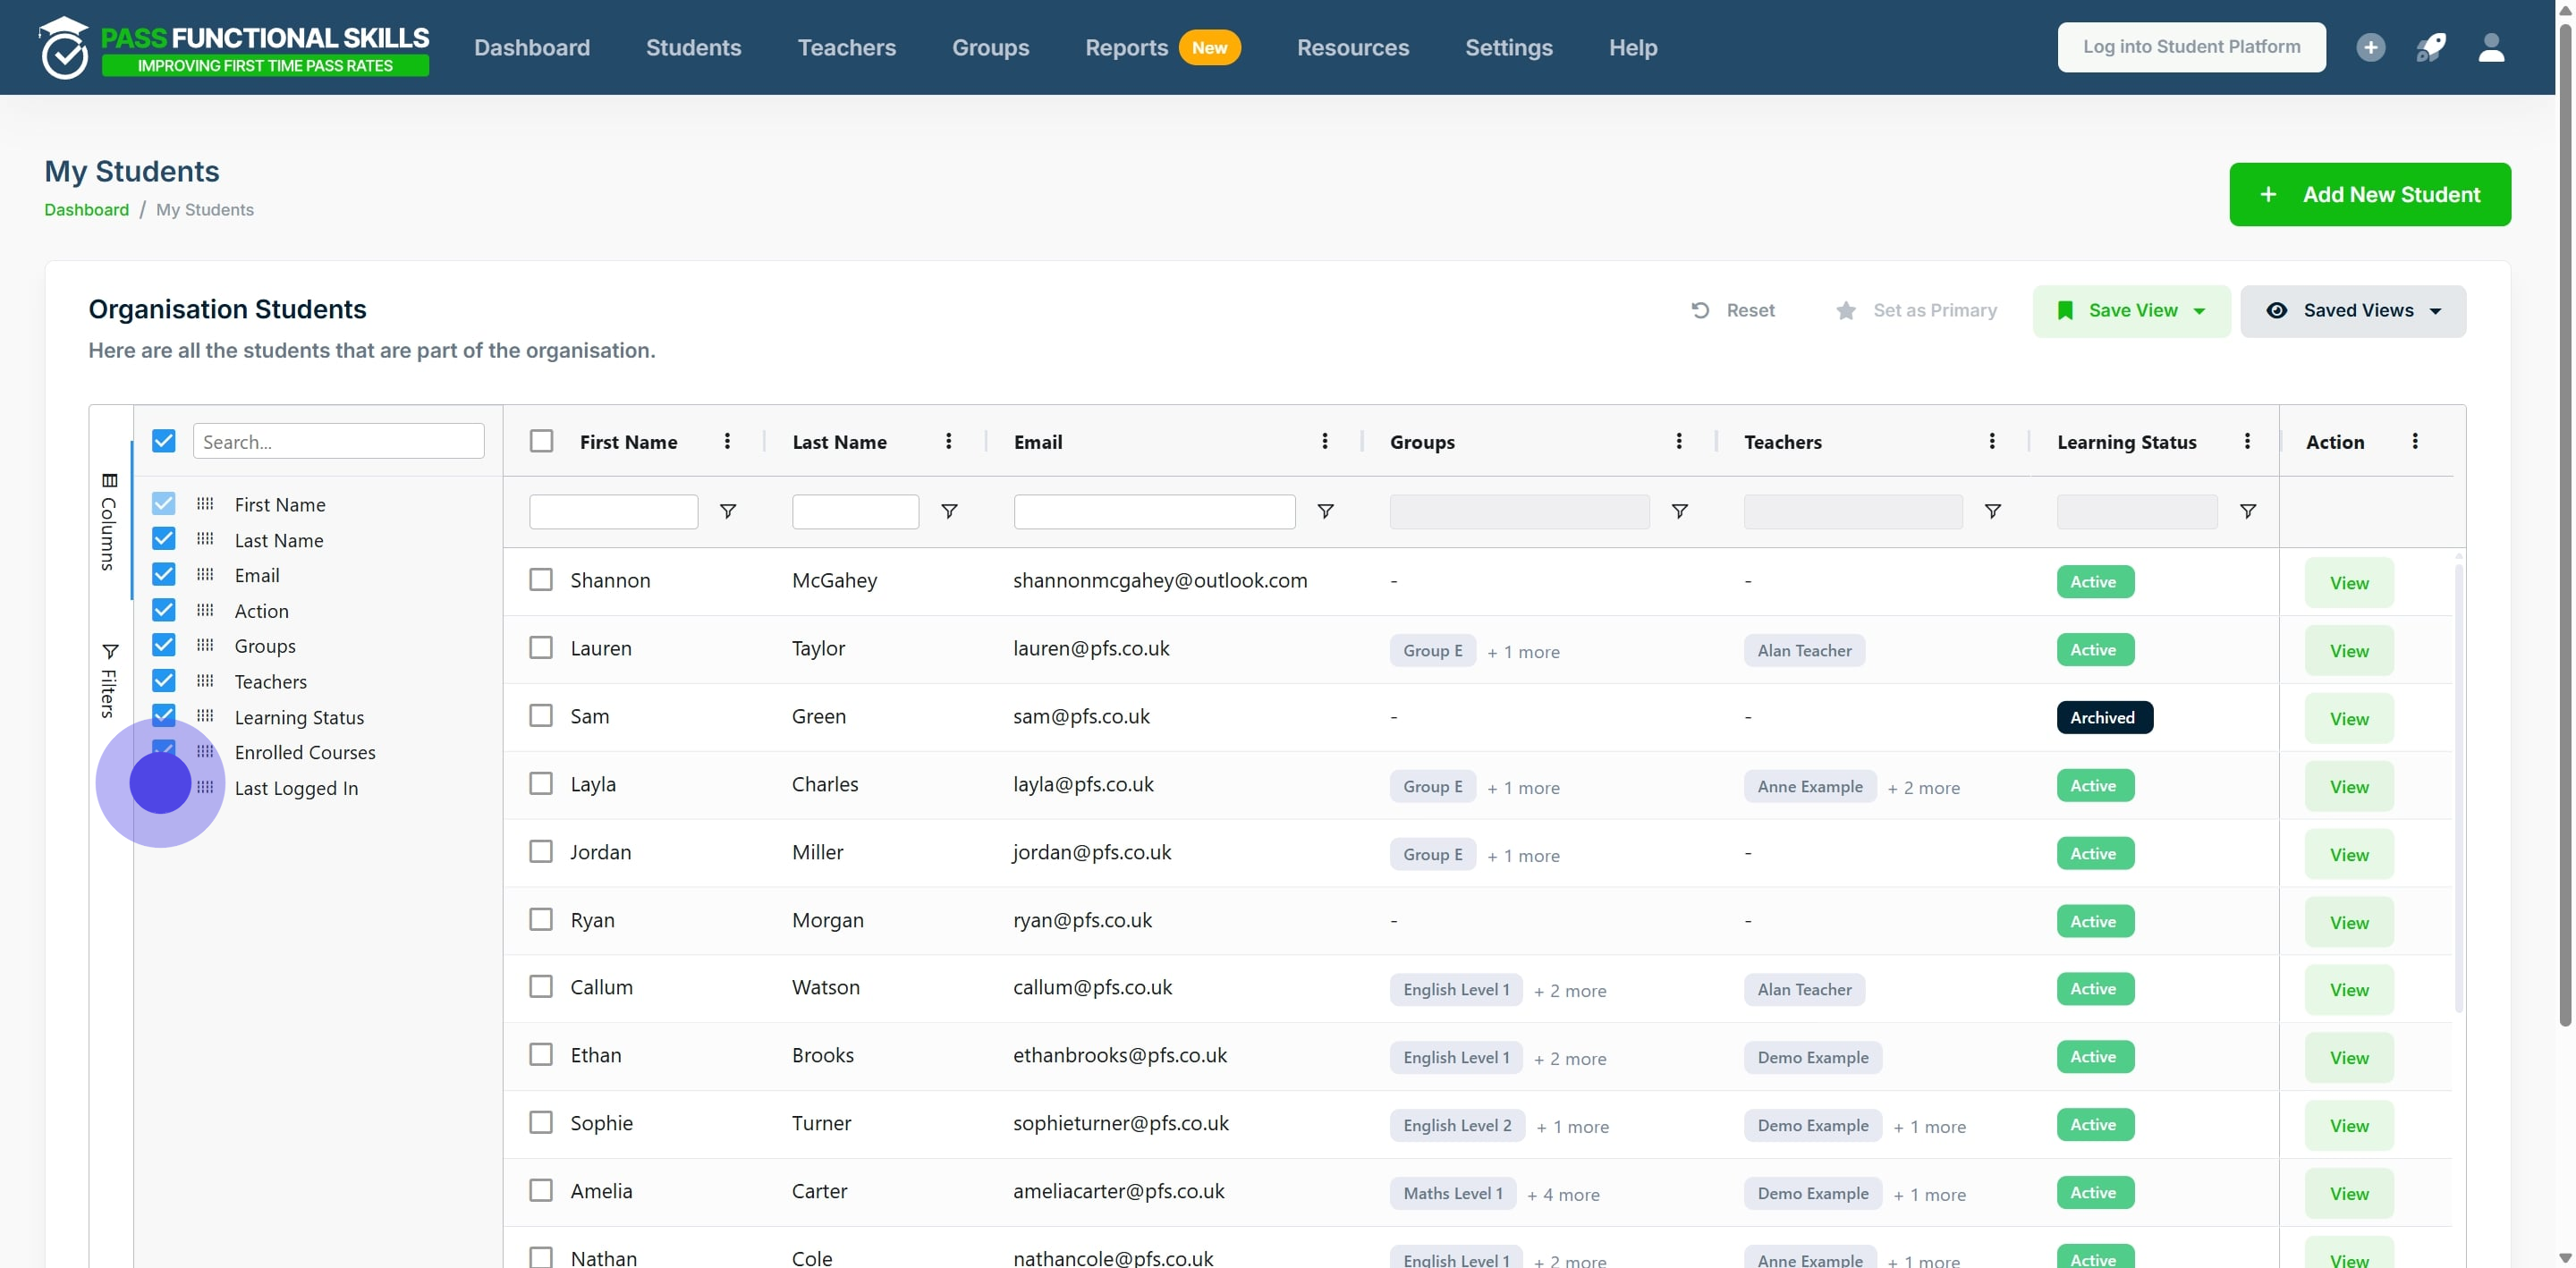
5. To reorder columns, click and hold the dots next to the column titles, and drag the title to the new position you want it in.
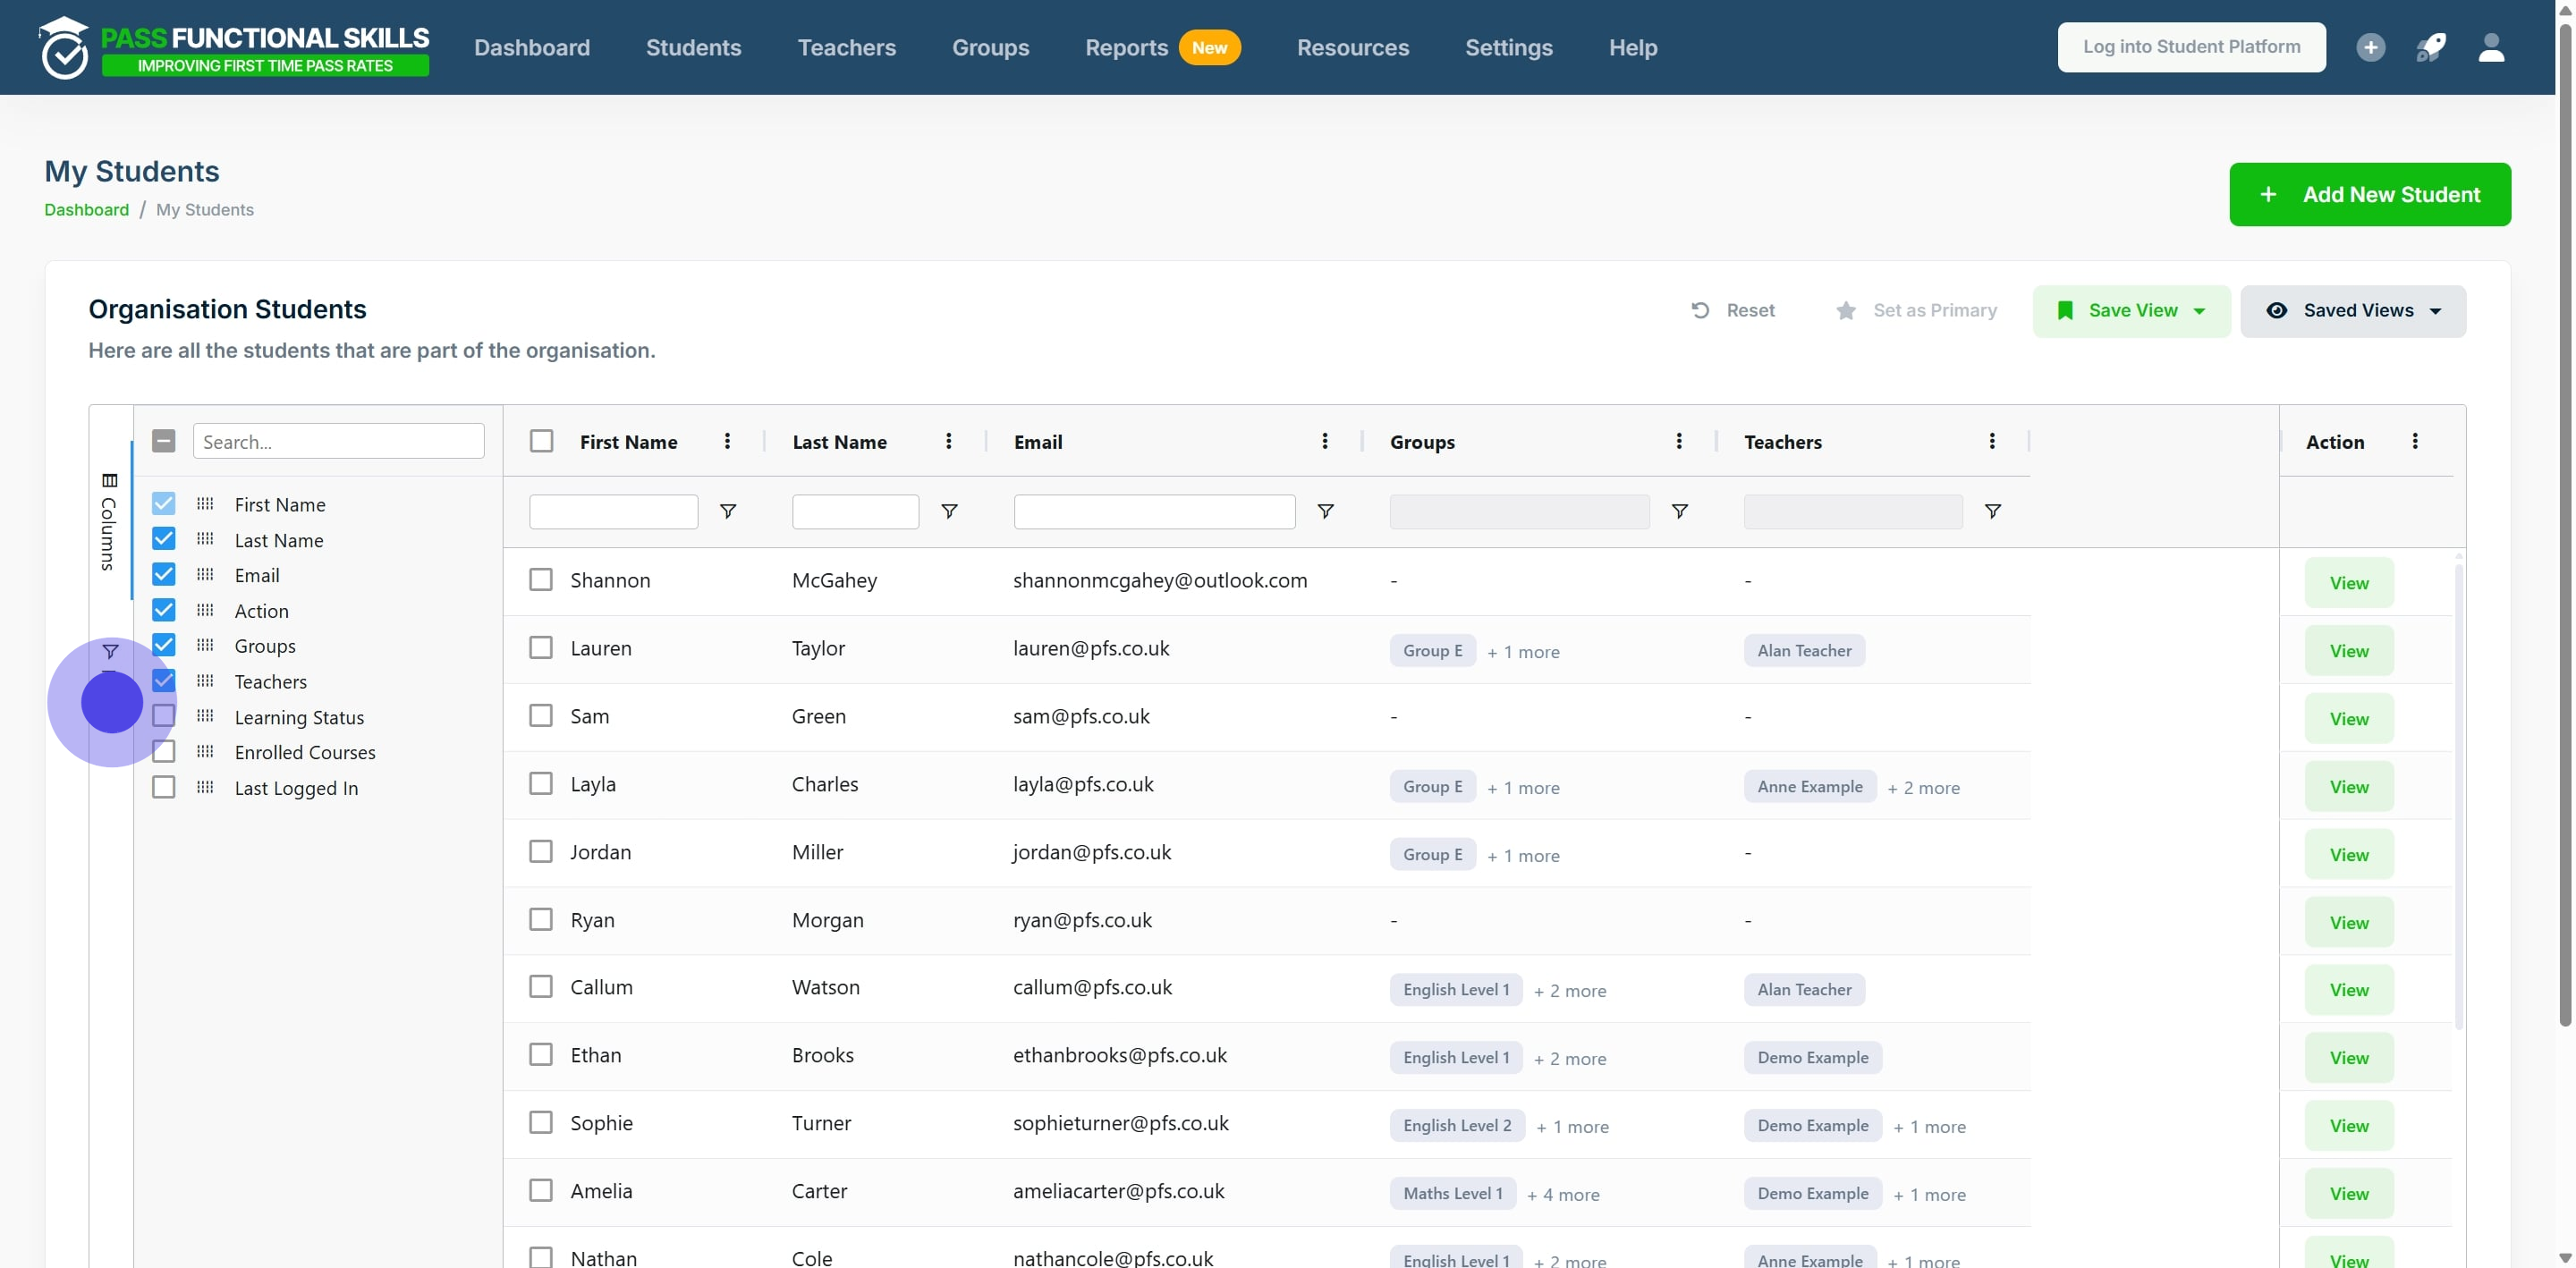
6. There is also an option available to quickly filter the table's contents.
To do so, click the "Filters" tab.
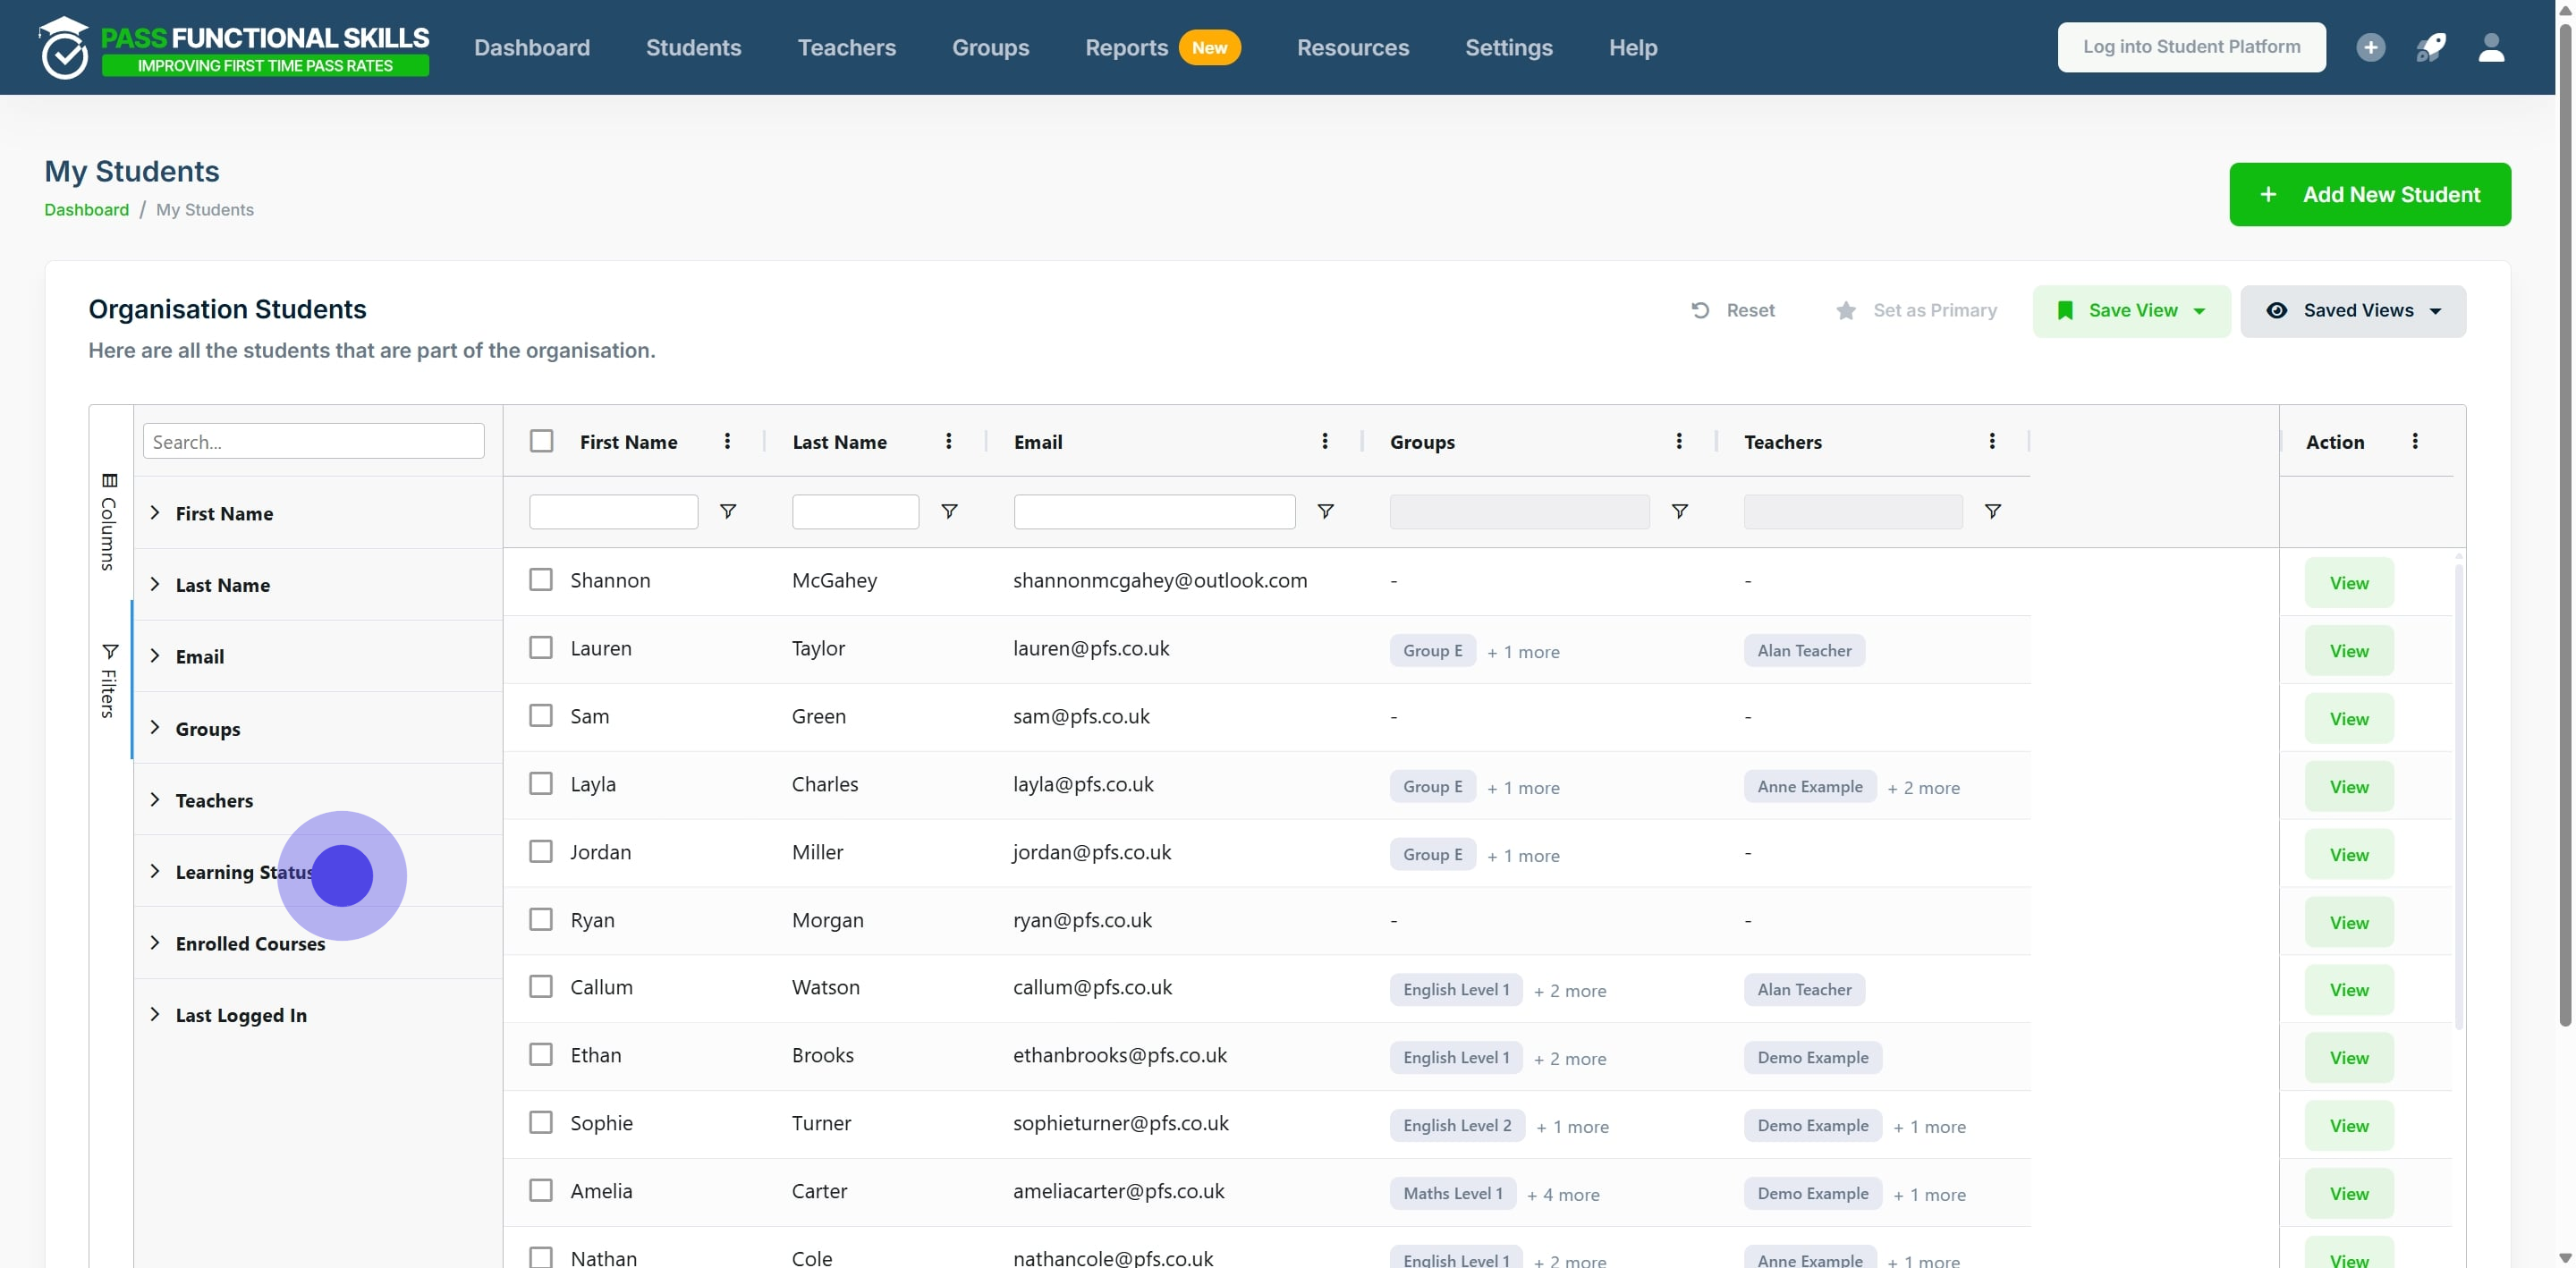
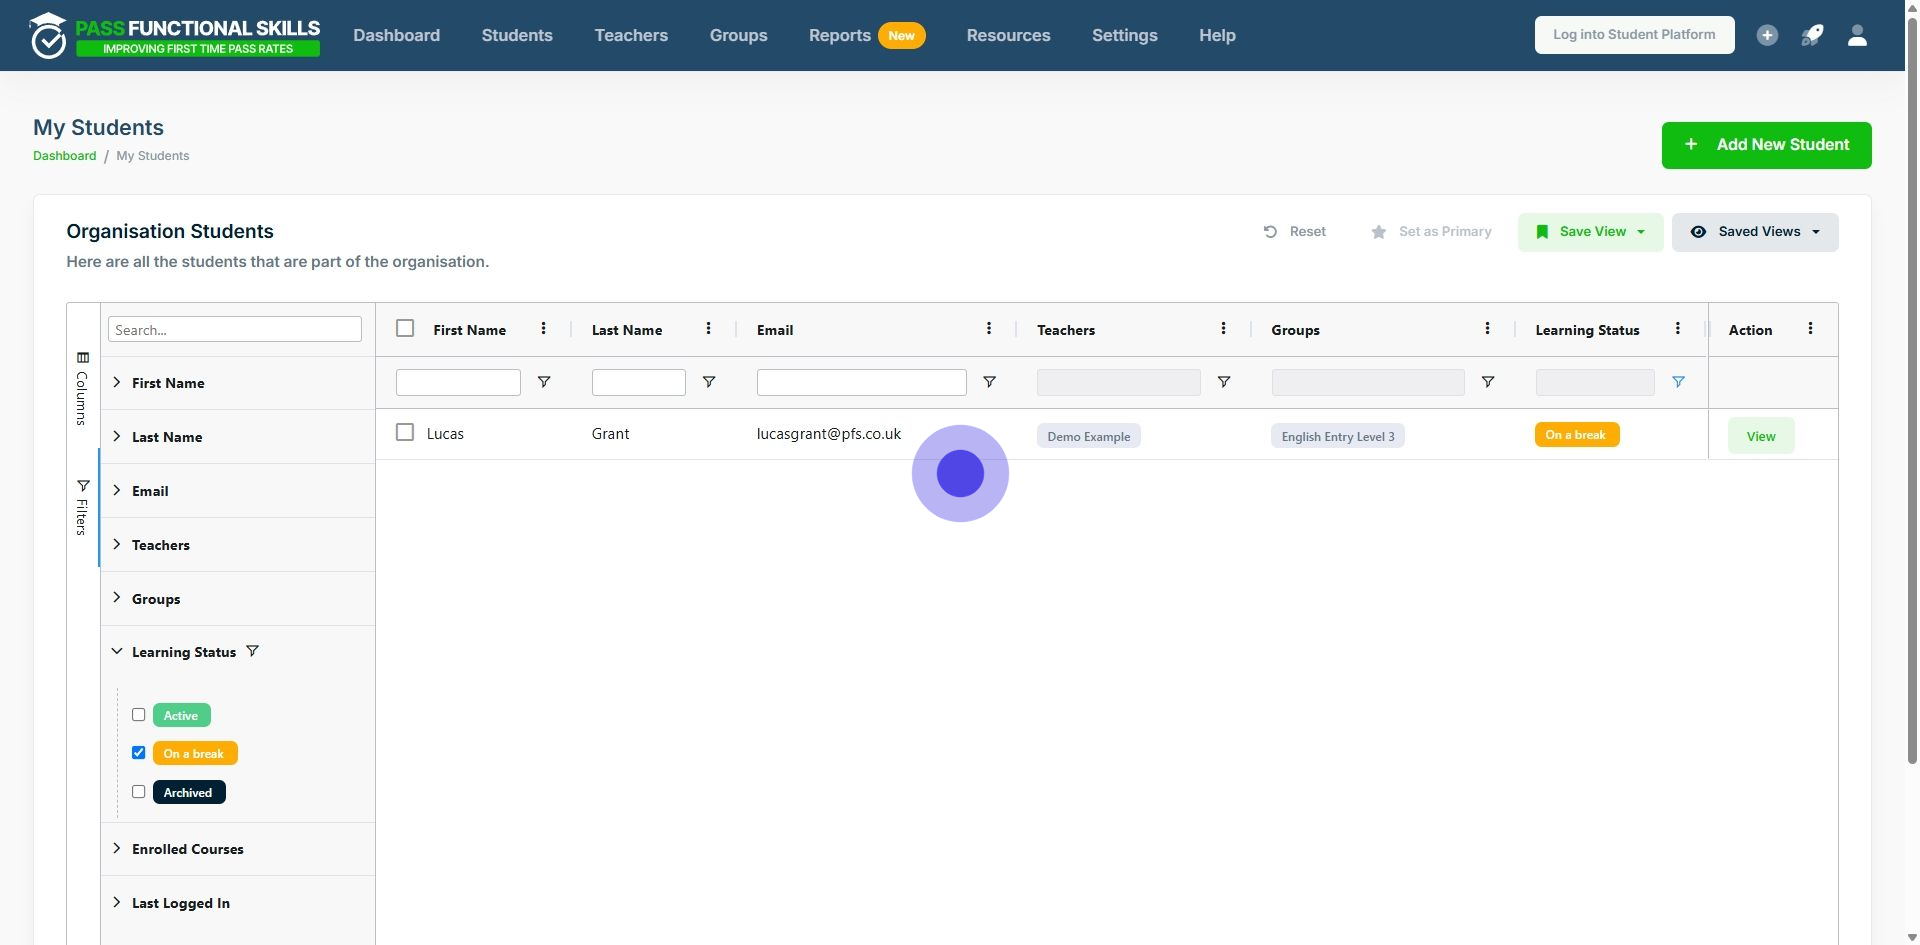
7. In this example, we will sort the learners so that only learners with the status "On a Break" appear in the table. So we click "Learning Status" to expand this section.
8. For our example, we will select "On a Break". This filters the table's contents into only students with the status "On a Break".
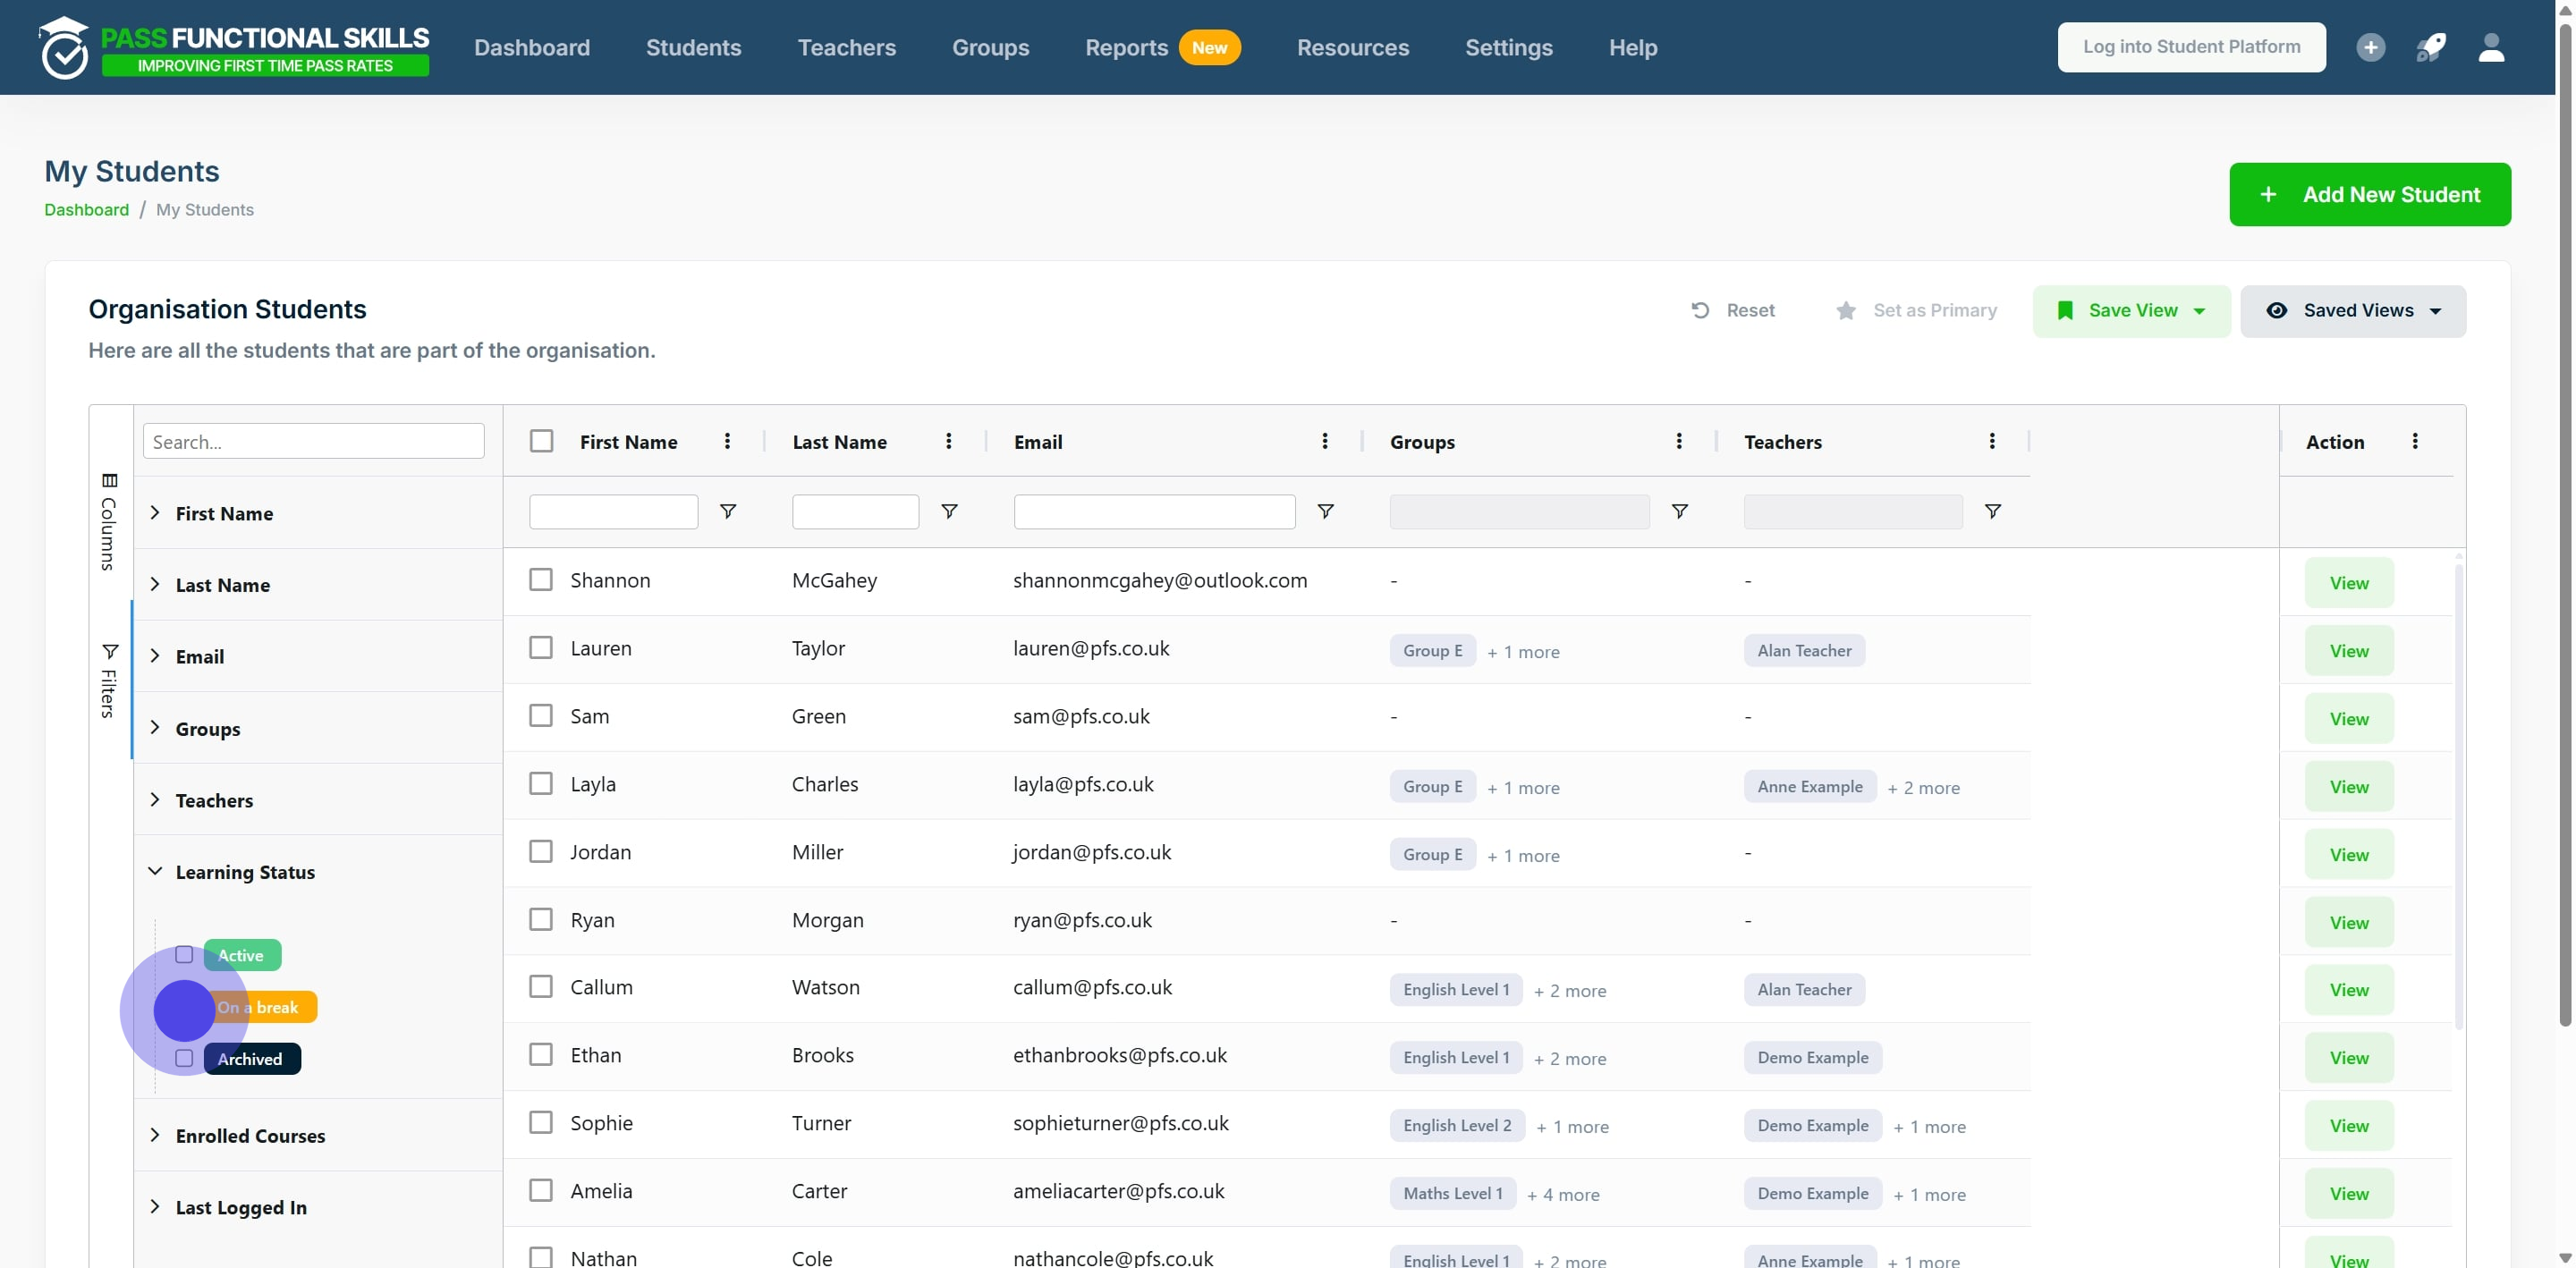
9. The table will then automatically filter.
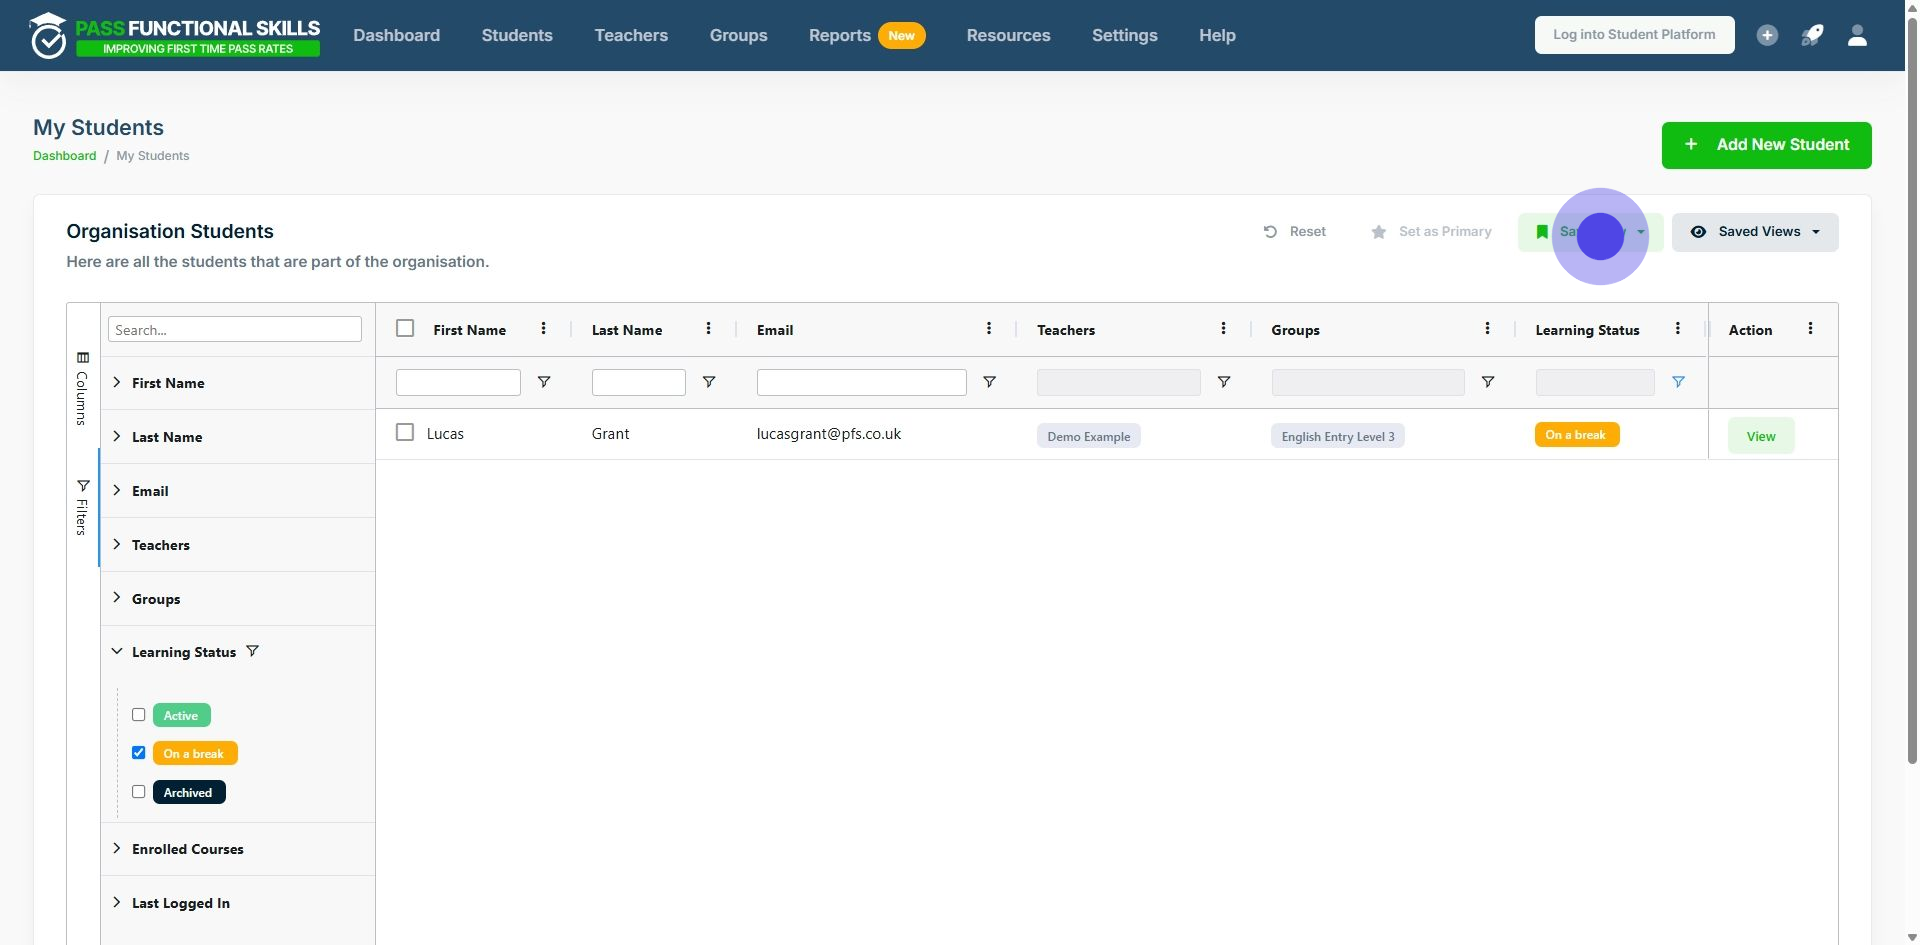
10. To save this filter as a view, click "Save View". It is possible to save a view with both Column changes and Filters applied.
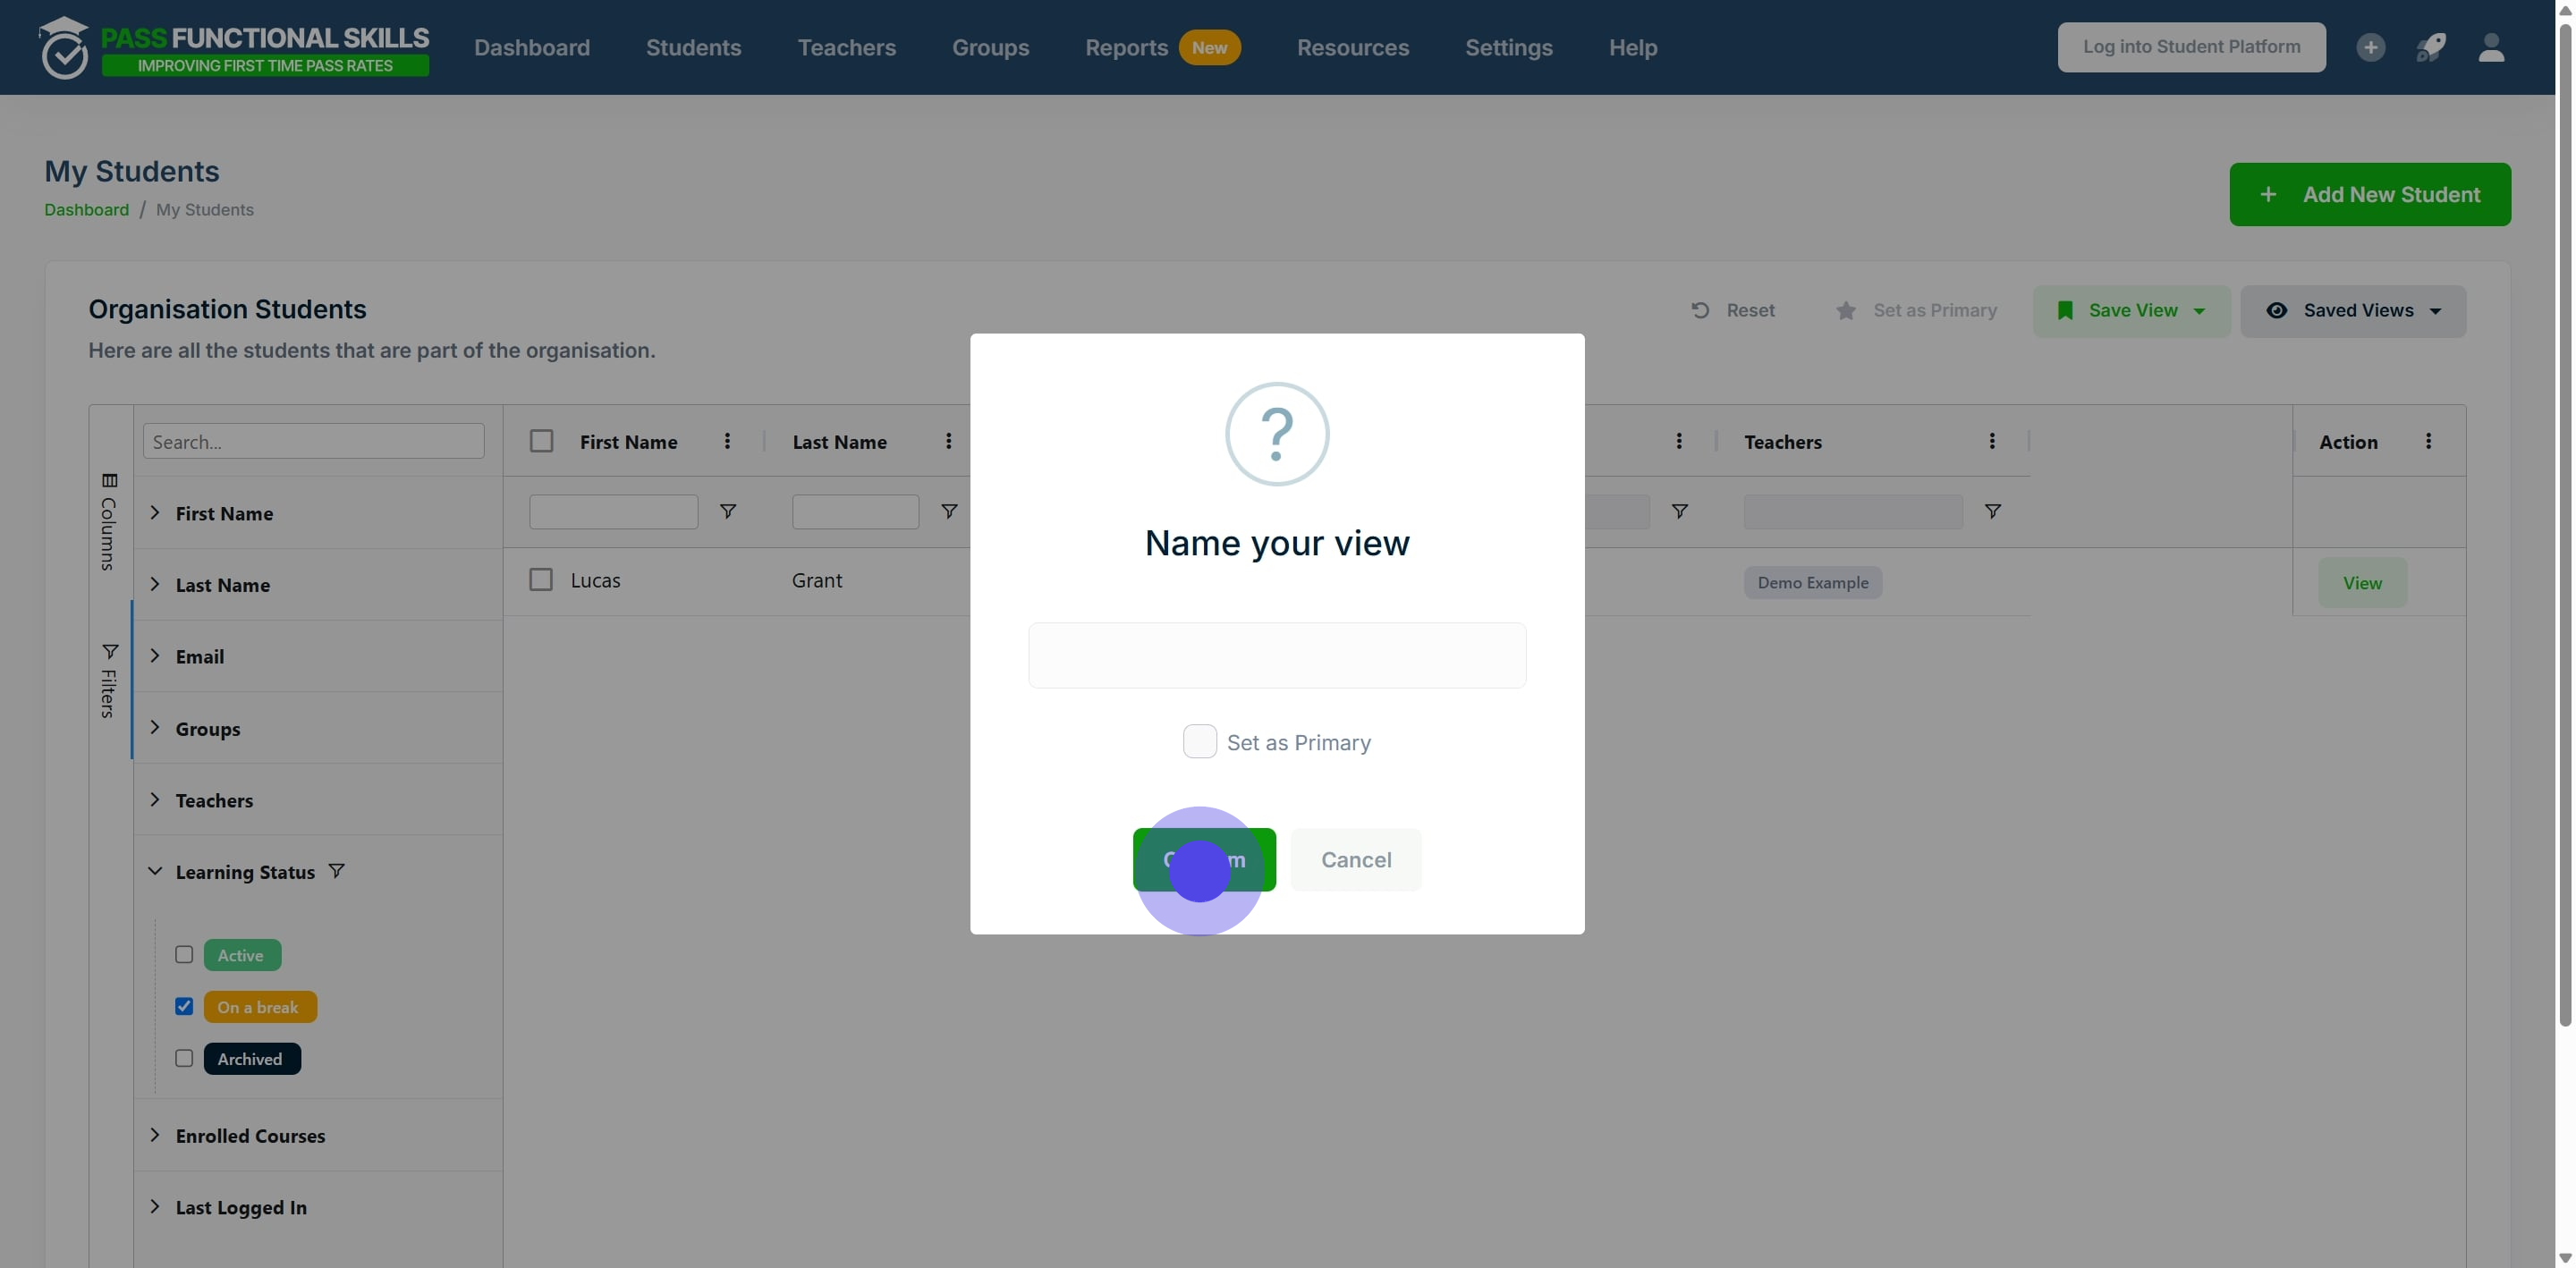
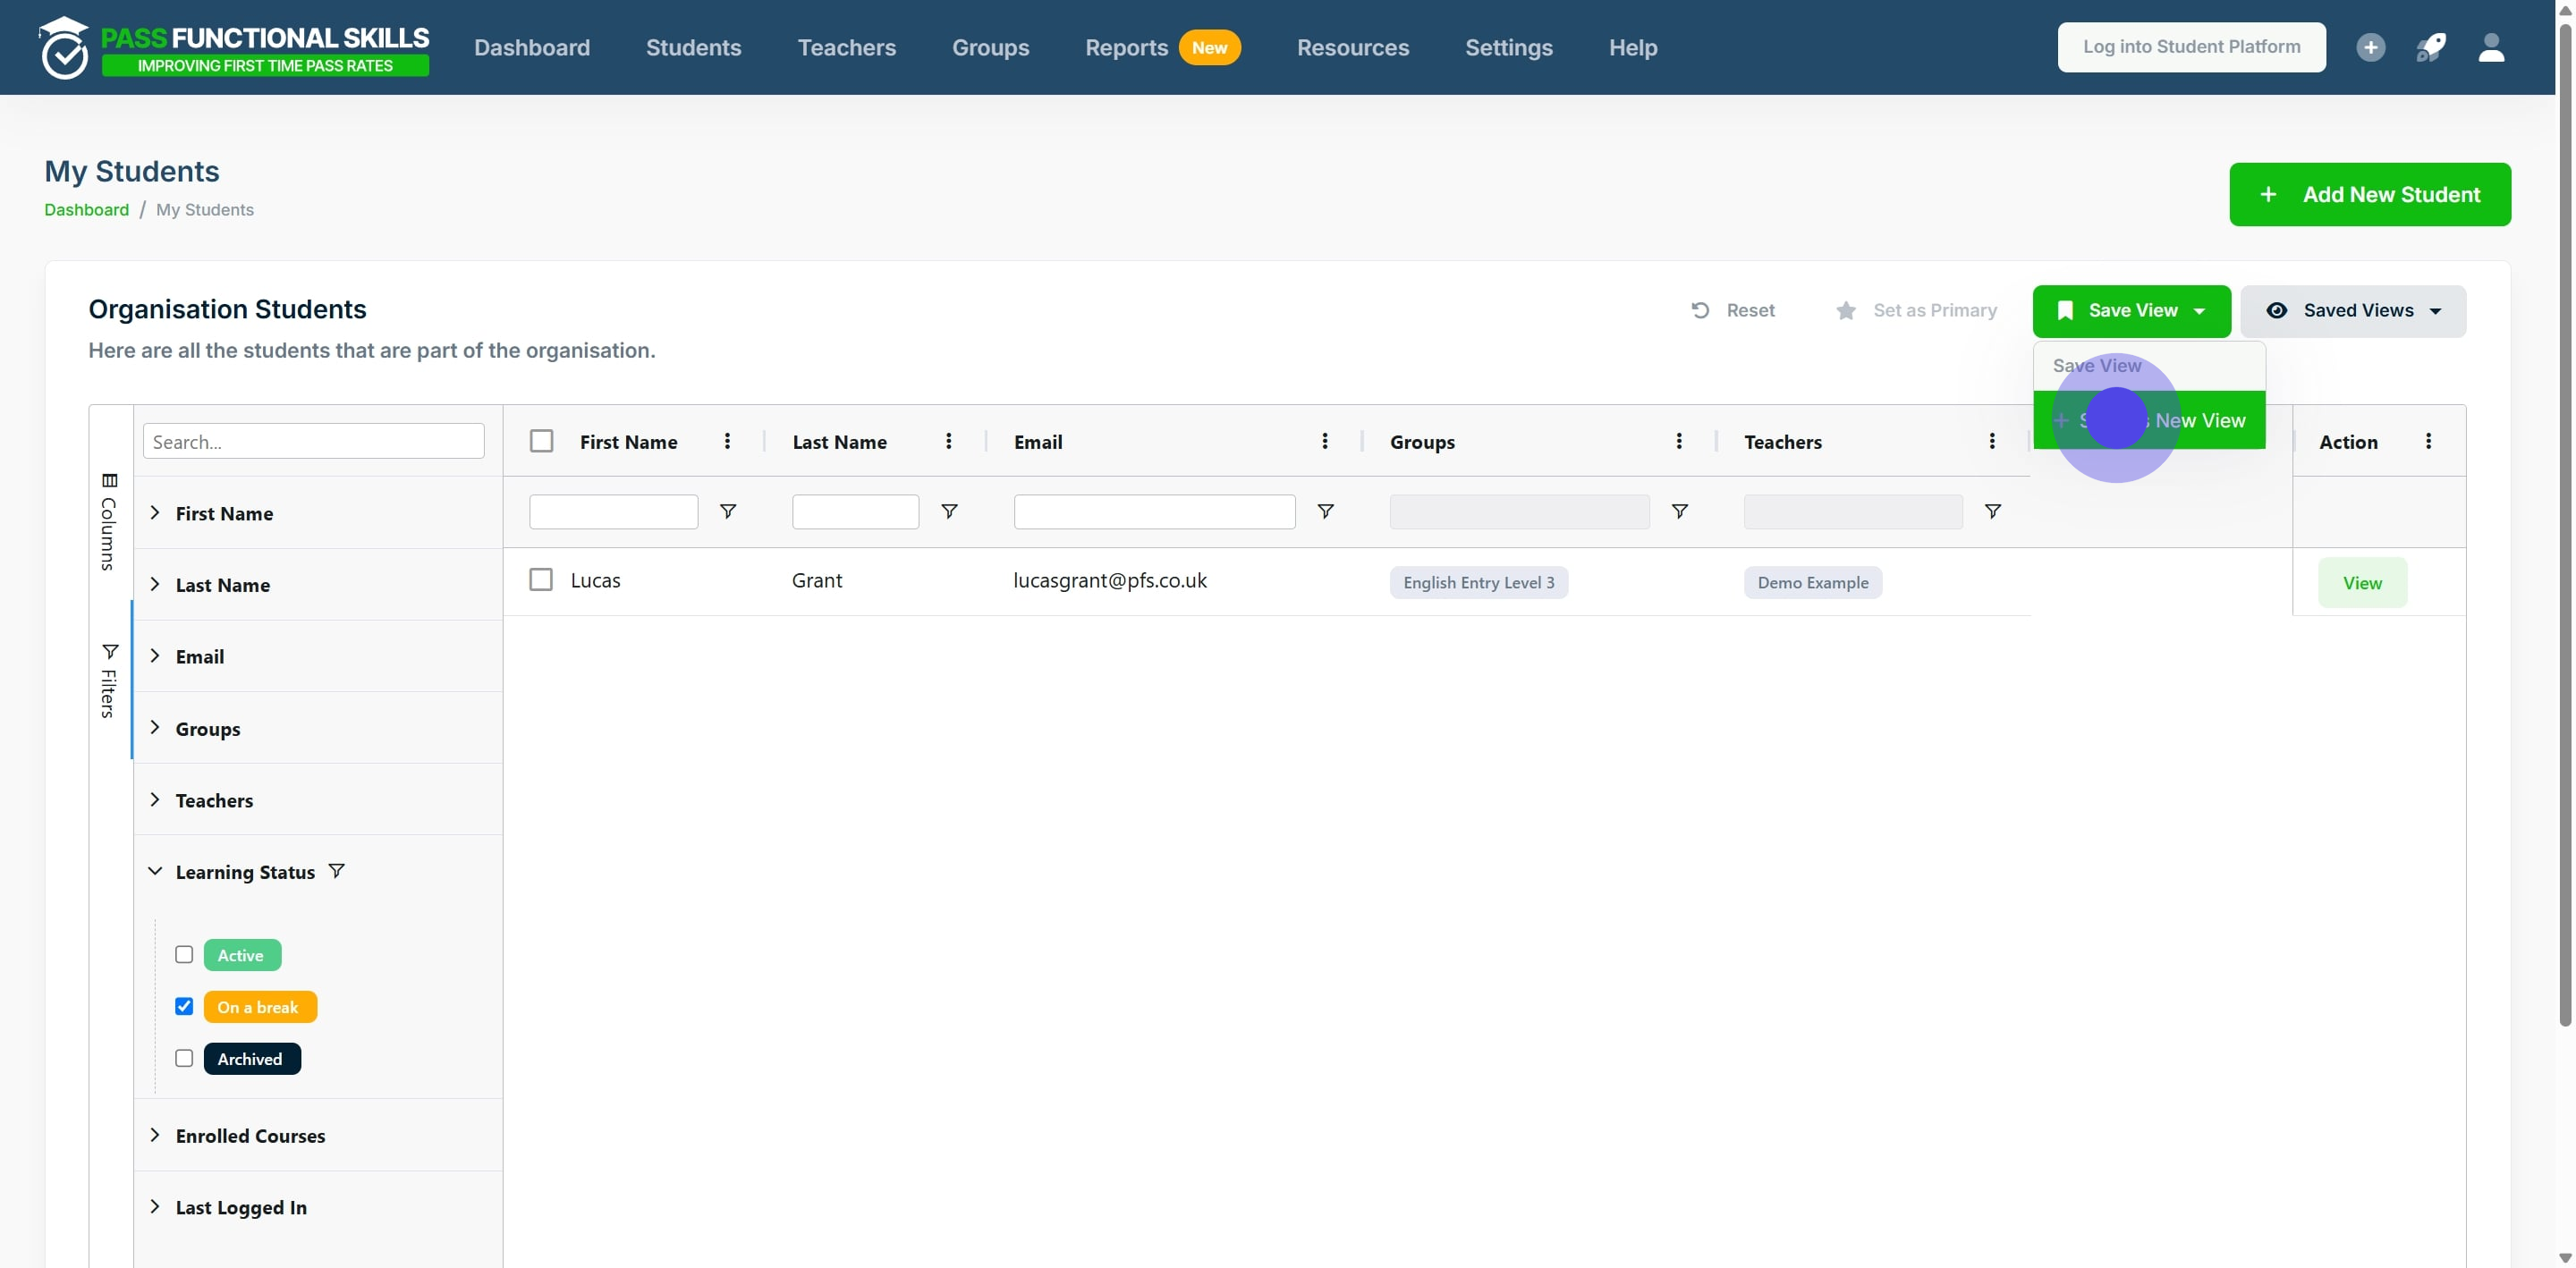
11. Click on "Save as New View".
12. Click the textbox and type to name your new view.
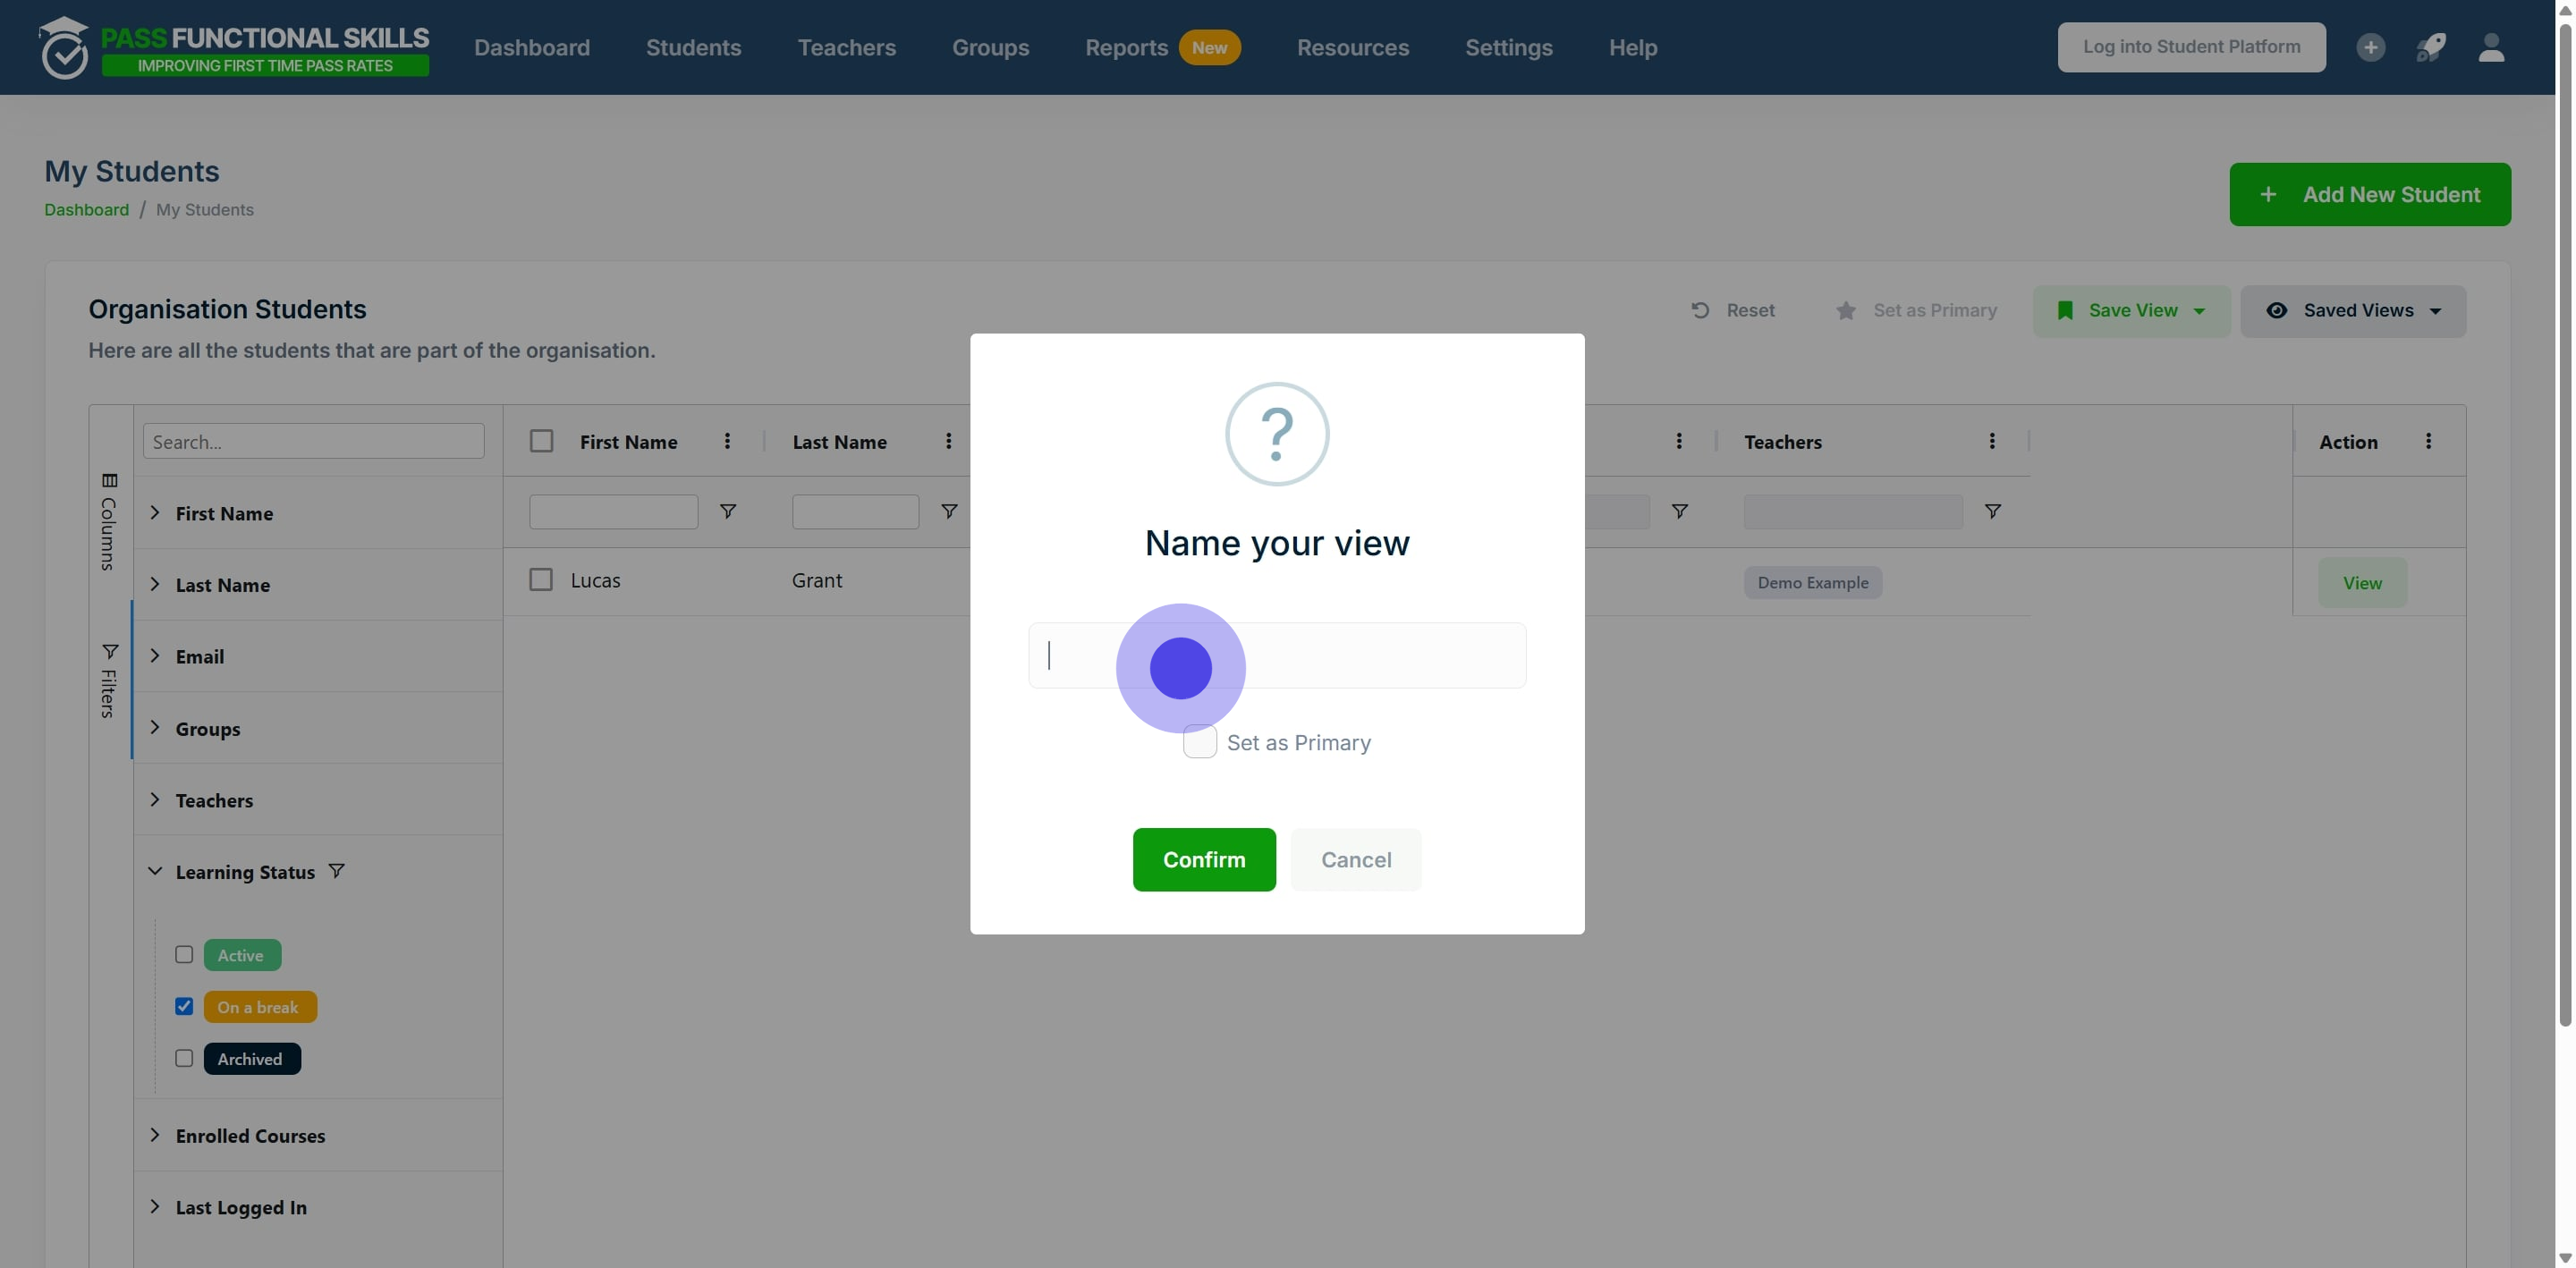
13. To set this new view as your primary view, click here to tick the checkbox.
A primary view means that anytime you view this table, it will default to your preferred customisation.
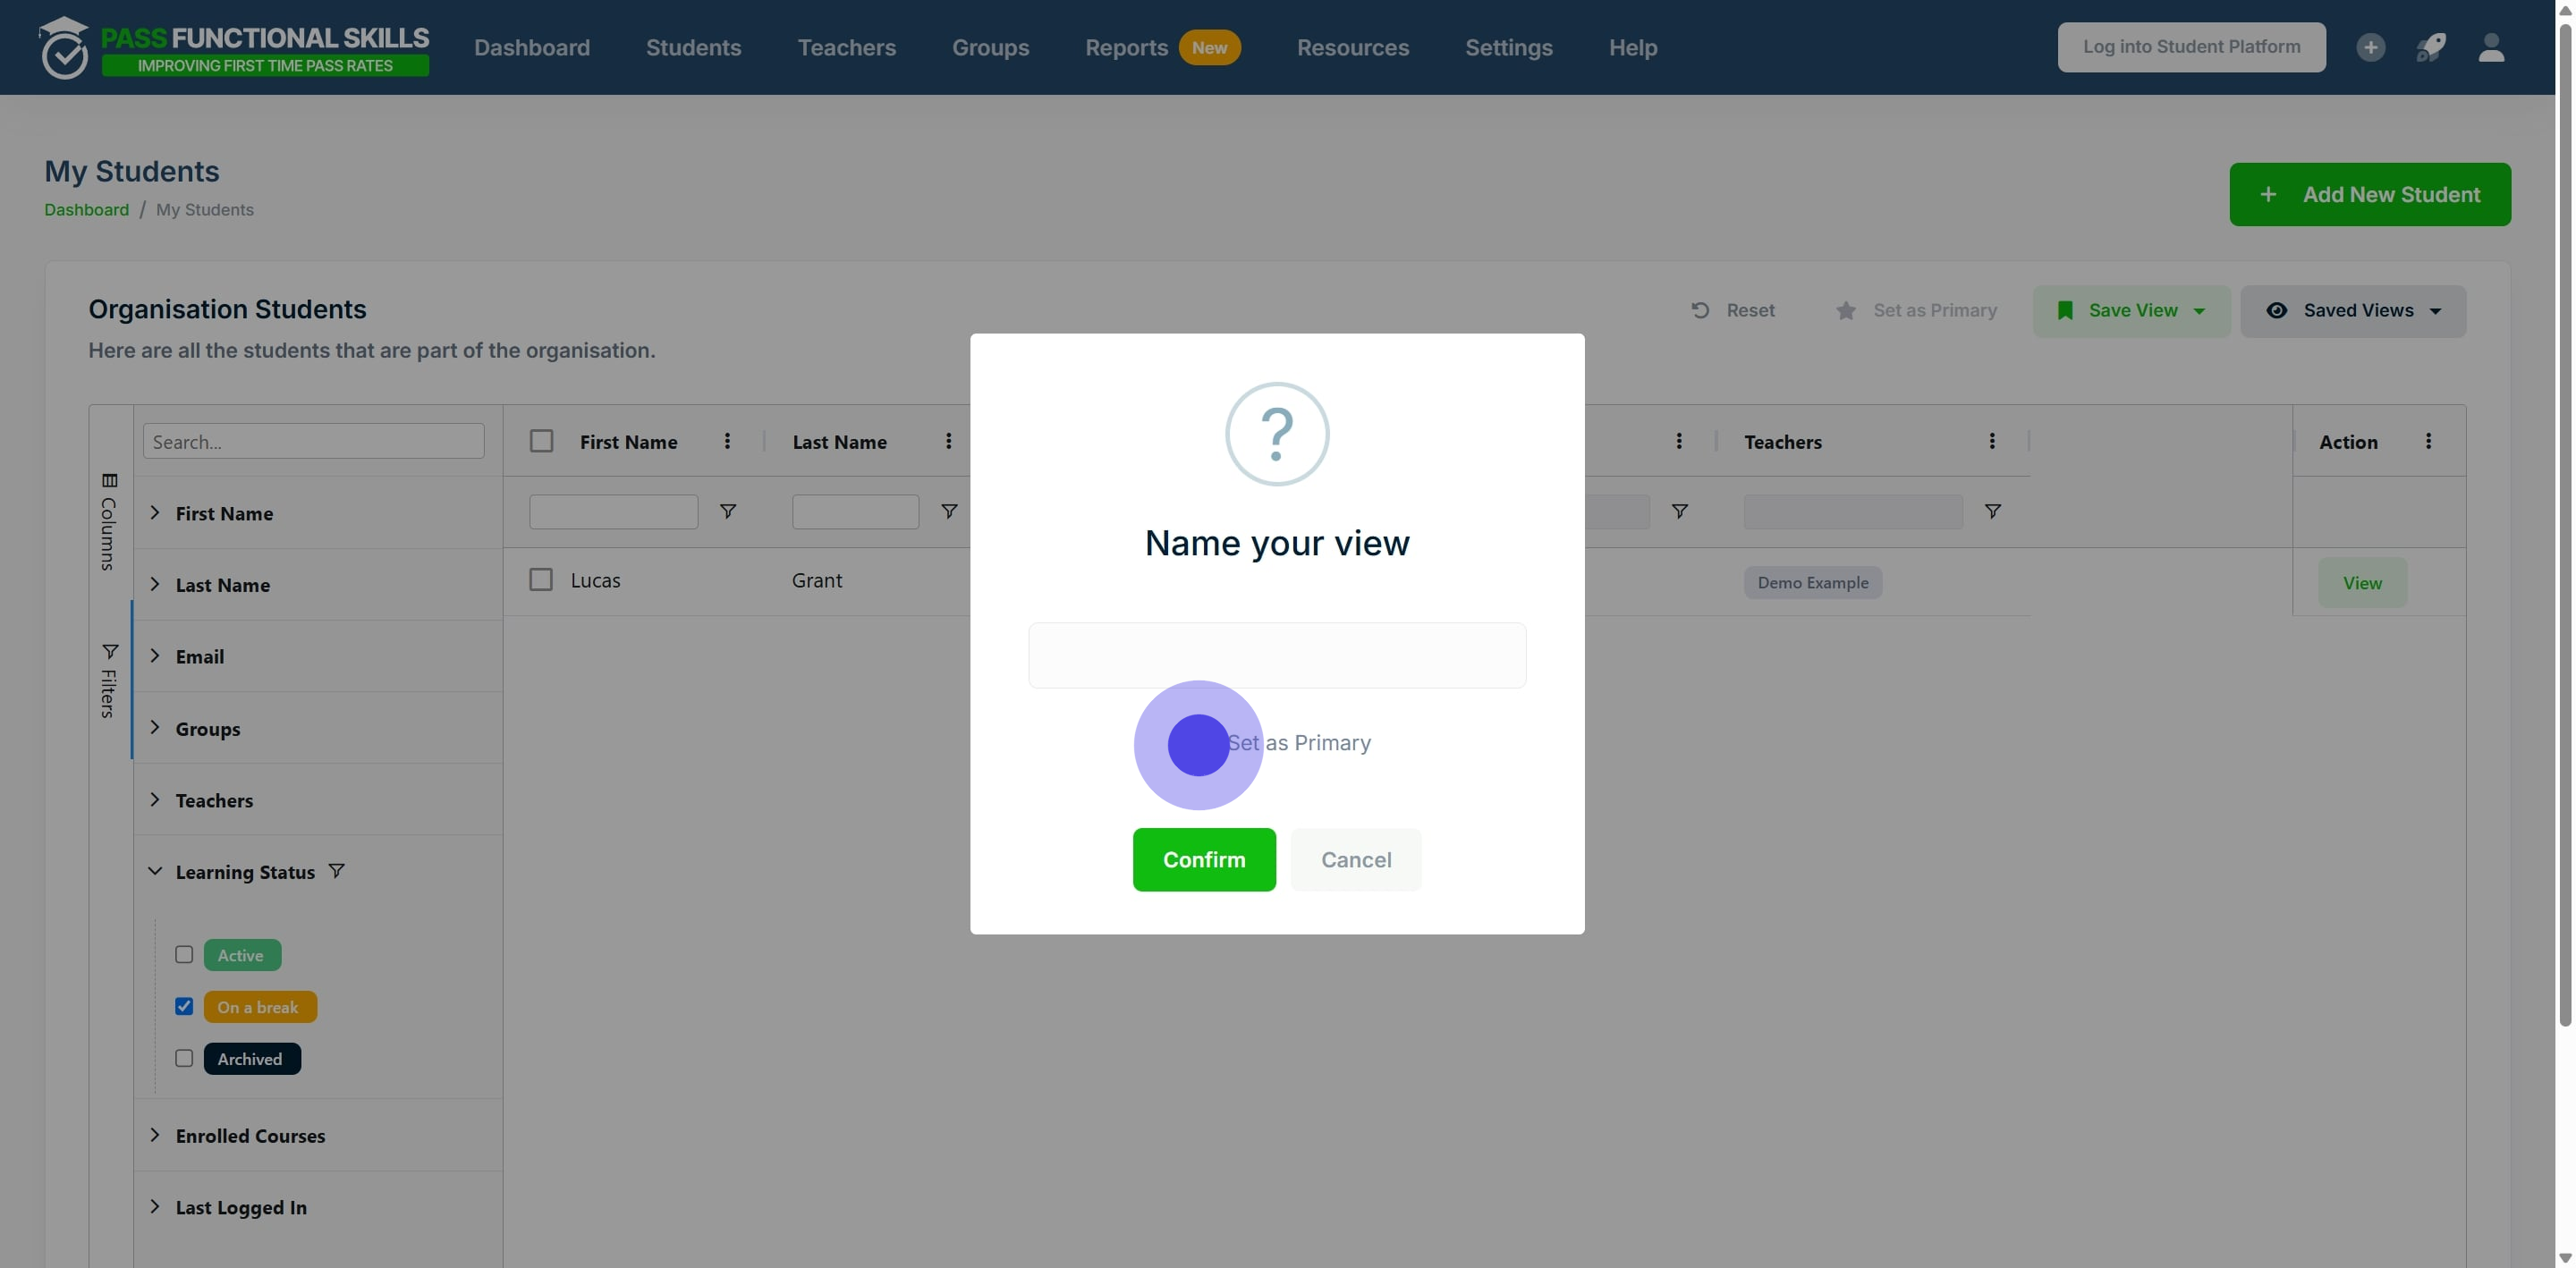
14. As the final step, click on "Confirm".